

![]()
This is the first post in a series. There is a lot to go through, so this post will tackle the initial setup and configuration of the Rancher UI. You’ll need a couple of things to get rolling, including:
- An Ubuntu 14.04 server with AT LEAST 1GB of RAM
- Access to the internet from that server
- A GitHub account (we use GitHub for access control in this example…plus you should just have one for other awesome reasons)
- DNS record or IP address of your Ubuntu server
In my case, I’m running the instance in DigitalOcean. The reason that I’ve said “AT LEAST 1GB of RAM” is that early testing I did using less RAM proved to be fatal to the build. The web server will attempt to start and will run out of memory and restart, which can be profoundly frustrating.
My build is a 14.04 LTS Trusty Tahr machine with 2 GB of RAM and 20 GB SSD.
NOTE: The commands I have shown below require the sudo command, but you will notice from screenshots that my account is running as root and sometimes do not use sudo. That is because I’m connected via the console to the DigitalOcean server as root. It is always a best practice to use a standard account and sudo for commands.
Installing and Configuring Rancher
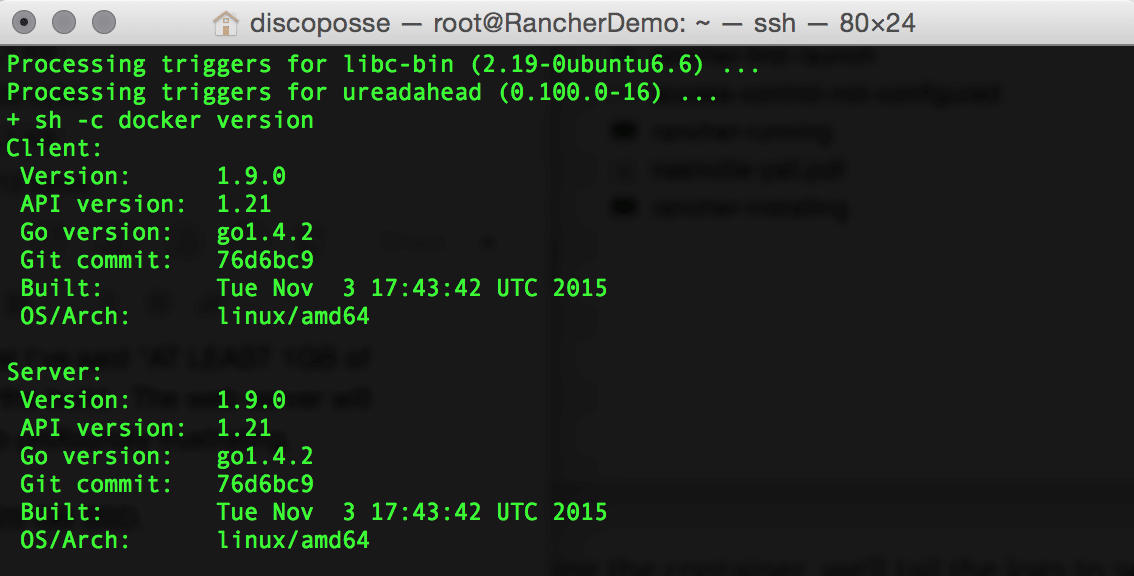
The first thing I always like to do is update my machine to be sure we are up to date. This is done with the classic sudo apt-get update command. Once you’re updated, we will get the ball rolling by installing Docker:
wget -qO- https://get.docker.com/ | sh

That will run for a minute or two, and we will see the results showing the installed version upon completion:
Starting up the Rancher application is super easy because it is entirely encapsulated inside a Docker container. How cool is that?!
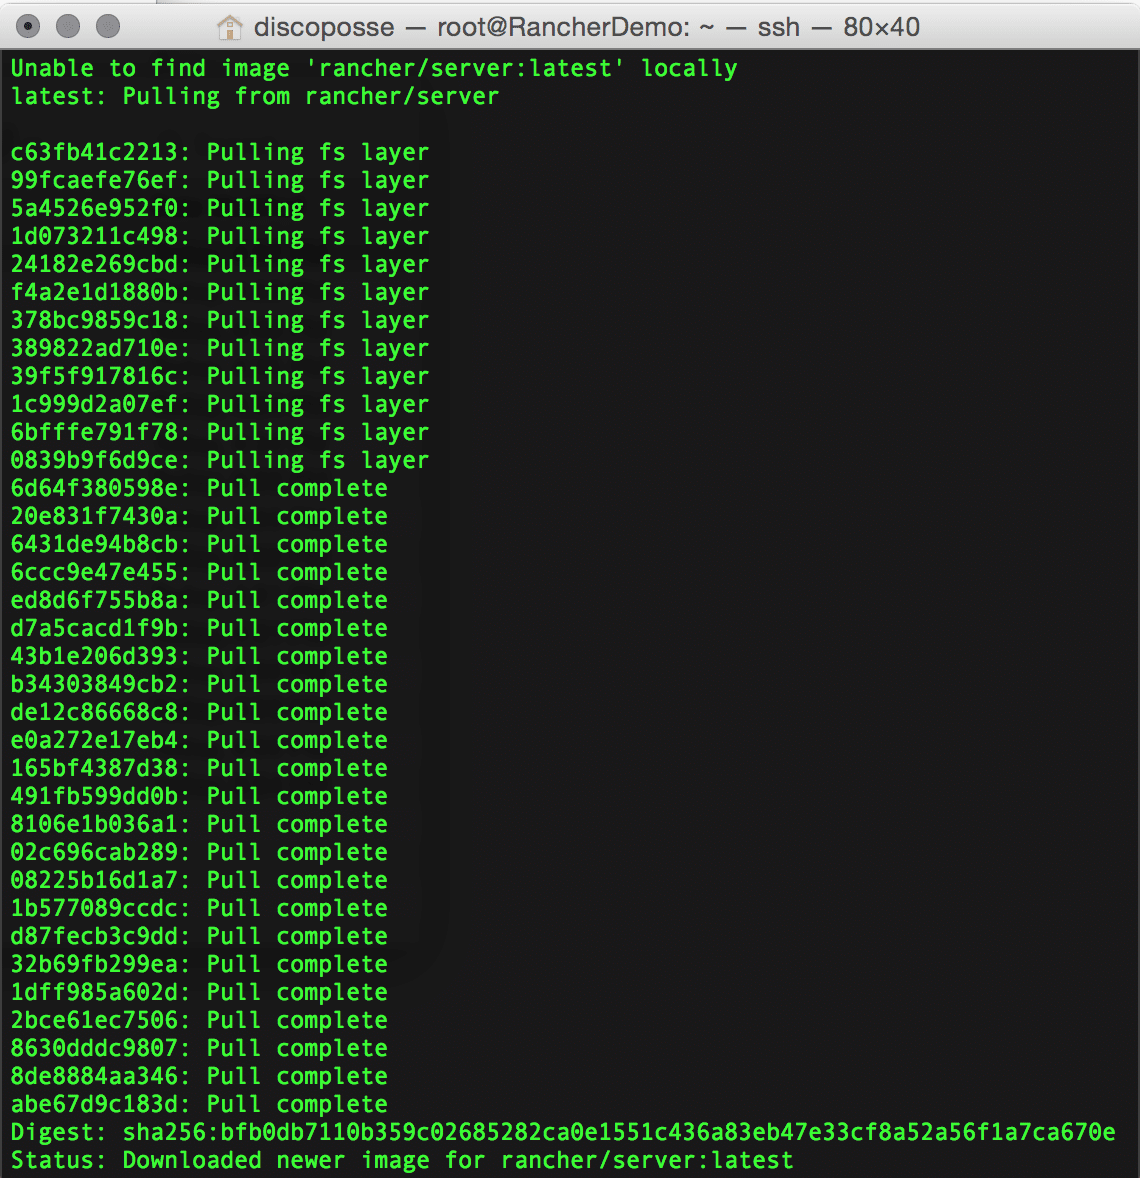
Let’s spin up our Rancher application container using this command: sudo docker run -d --name myrancher --restart=always -p 8080:8080 rancher/server

If this is the first time that you’ve run the Rancher application container, you will see the download process happening which looks like this:
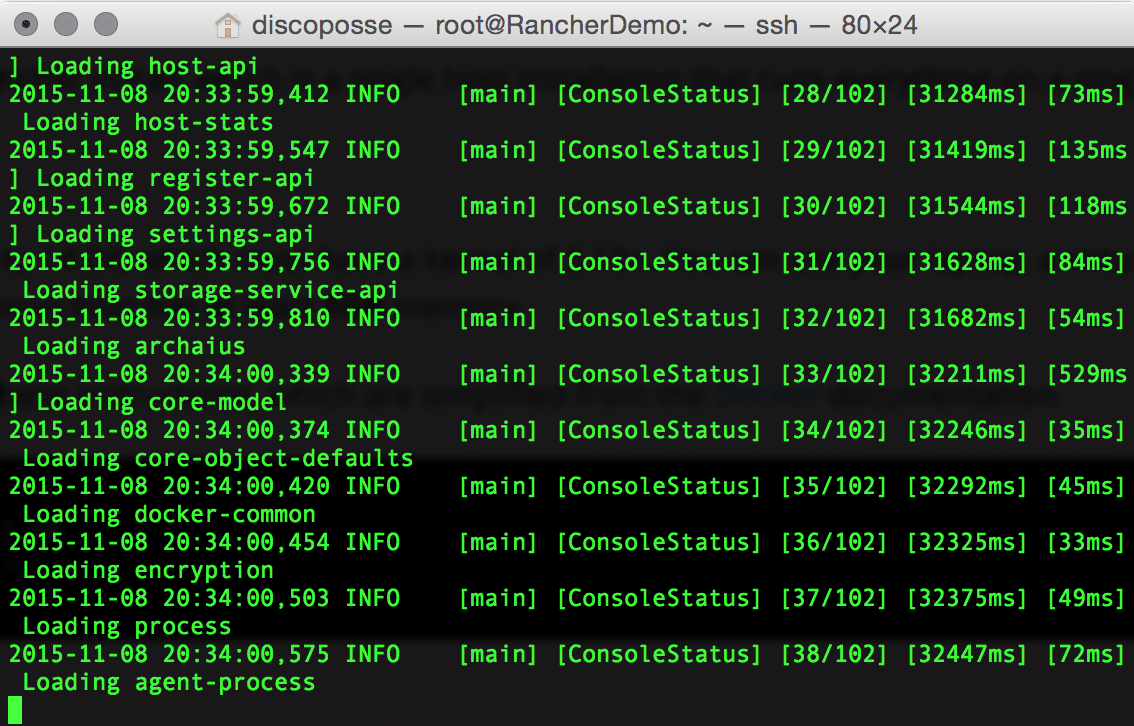
Once the container is downloaded and launched, we can monitor the build using the sudo docker logs -f myrancher command which will show you the log activity.
During the build, the screen will look like this:
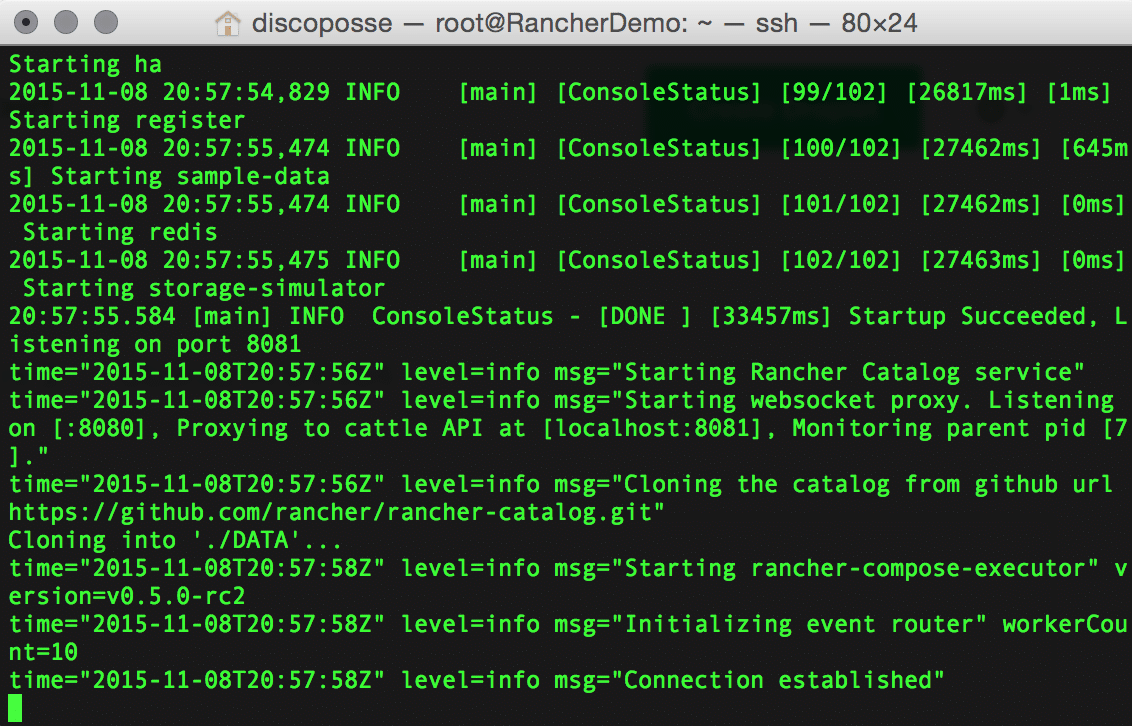
Once the install is completed, you will see the phrase “Connection established” in the log output window:
Yay! Now, let’s go to the URL and configure our access control. The reason that this is important is because the server has no access control at all on initial launch, and is publicly accessible on the http port.
Go to the domain name for your server or IP address using port 8080. In my case it was http://rancherdemo.mycyclingstore.com:8080 which brings me to the home screen:
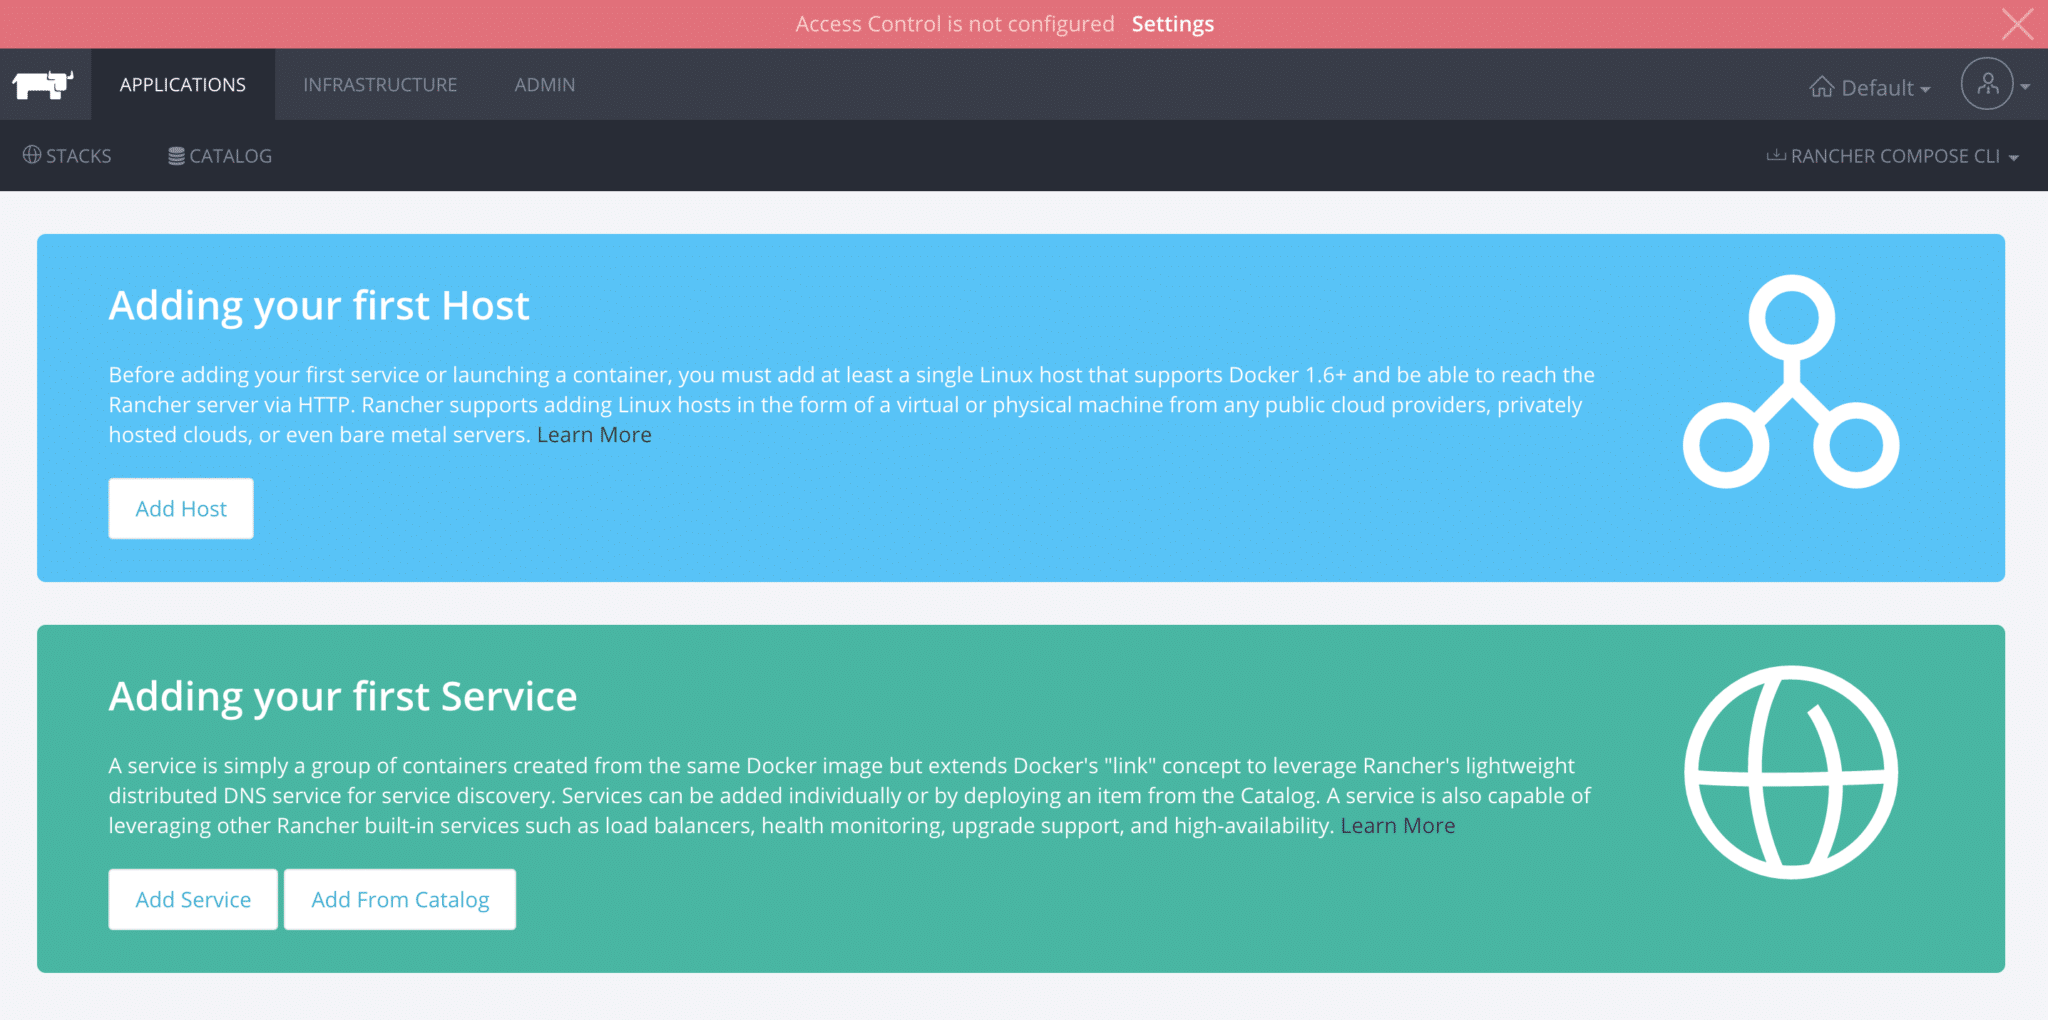
The important warning is up at the top which states that Access Control is not configured:

Just click the Settings link and we will get your initial access control set up. There will be a setup screen showing your options to configure, and in this case I want to use GitHub as my authentication. Simply click the GitHub icon:

It even has all the instructions for setting up your GitHub application, so make sure to use those settings as shown on screen:
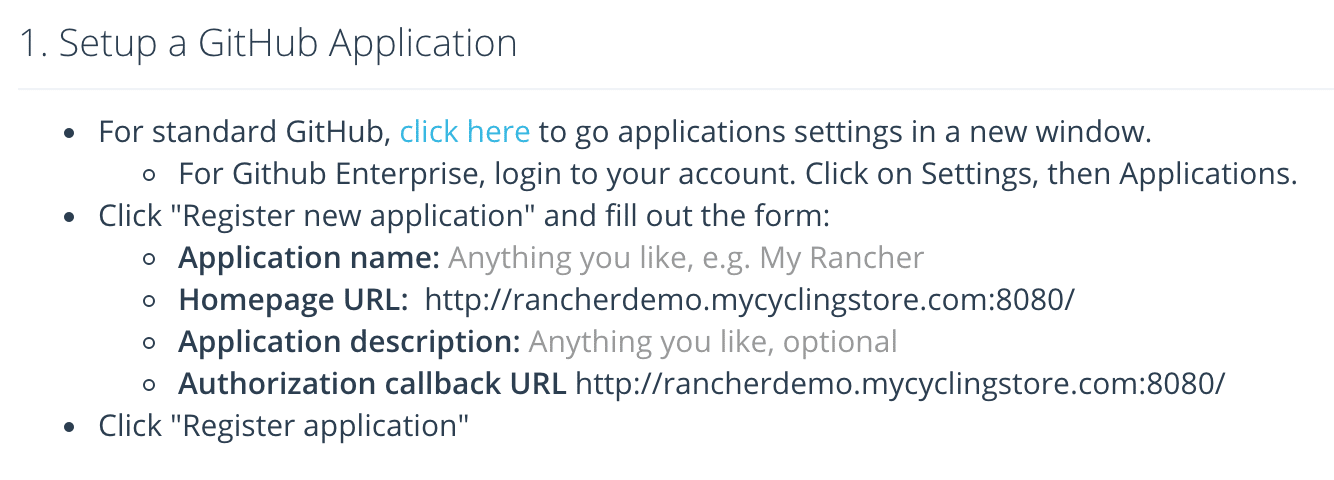
In your GitHub account, set up a new OAuth application using the settings from the Rancher instructions. This was what mine looked like, and then we click Register Application:

You’ll see your completed settings in the results page on GitHub, and it will also have your client ID and client secret, so keep this page open. Now, go to the Rancher UI again and fill out the information as provided by GitHub:

Once that’s filled in, click the handy Authenticate with GitHub button:

This will bring you to the GitHub authorization confirmation screen which will look something like this:

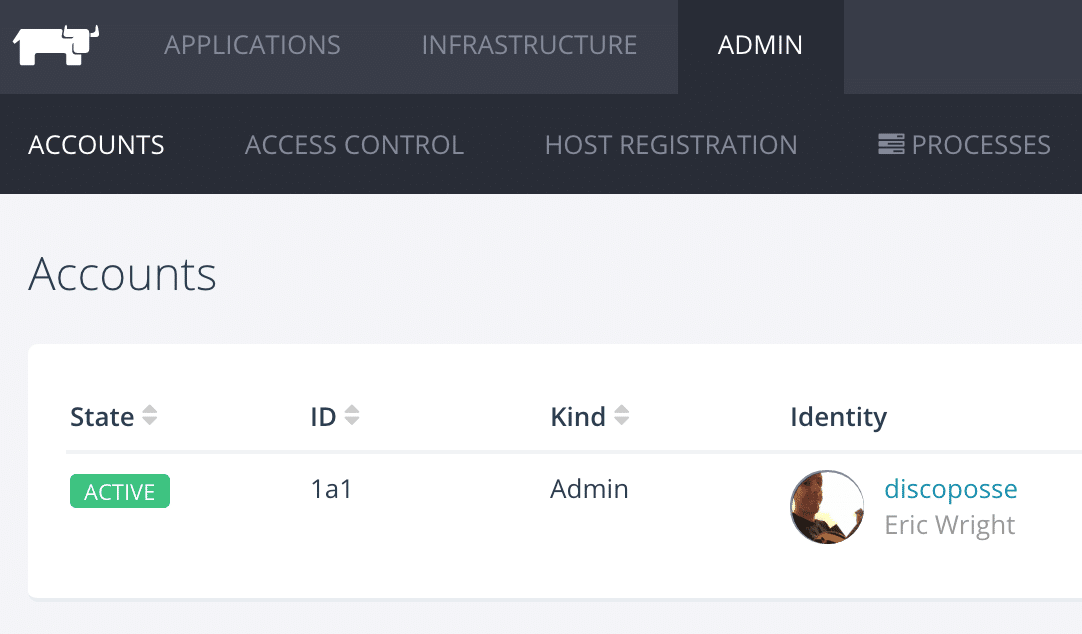
Congratulations, you’re all done with your initial access control settings! You can confirm by going to the Rancher UI and click Admin in the top menu and the default Accounts page shows your user configuration:
What’s Next?
We’ve done the initial setup here, so our next tasks will be setting up hosts and services, and spinning up some Rancher goodness in Part 2. The important first step was configuration and access control, and our upcoming posts will explore a few different host configurations and sample applications.
Remember that if you shut down your host, you will have to restart the Docker instance using the same commands we used above. Luckily, the launch is much quicker now that we’ve downloaded the initial components.
2 thoughts on “Rancher Part 1: Installing Rancher and Setting Access Control”