We’ve been looking at how to add a little Terraform into your IT infrastructure provisioning toolkit lately. Using DigitalOcean is also super easy and inexpensive for testing out processes and doing things like repetitive builds using Terraform.
The first post where we saw how to do a simple Terraform environment build on DigitalOcean appeared at my ON:Technology blog hosted at Turbonomic. That gave us the initial steps for a quick droplet deployment.
We also talked about how to access your DigitalOcean droplets via the command line using SSH keys here which is very important. The reason that it is important is that without SSH keys, you are relying on using the root account with a password. DigitalOcean will create a complex password for you when deploying your droplet. This is not something you can find out without actually resetting the root password and restarting your droplet. This is both insecure (reverting to password access instead of SSH key pair) and also disruptive because you are rebooting the instance to do the password reset.
Now it’s time to merge these two things together!
Adding SSH key details to the Terraform DigitalOcean provider
We are going to add a few things to what we have already done in those two other posts. You will need the following:
- path and filename for your private key
- SSH fingerprint from your DIgitalOcean account settings
- code samples for all of this are locate here: https://github.com/discoposse/terraform-samples
Getting your SSH fingerprint is a simple process. Start by going to the top right of your DigialOcean console to the icon which has a dropdown for your account settings:
In the profile page, choose the Settings option from the menu on the left-hand panel:
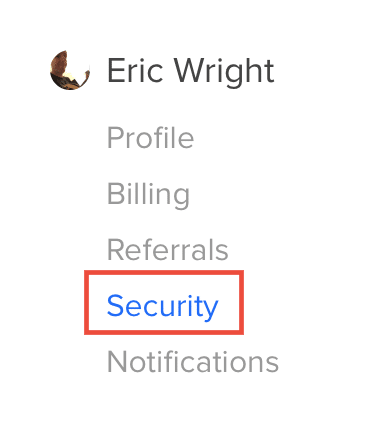
The SSH fingerprint that you’ll need is in the security settings page. Keep this somewhere as safe as you would your SSH keys themselves because this is an important piece of security information.
Using the SSH Details in Environment Variables
Our settings are going to be stored using local environment variables just like with our DigitalOcean key was in the first example blog. Because we have a few other things to keep track of now we will see the changes in the provider.tf file:
Our environments variables are going to have the same format which is TF_VAR_digitalocean_ssh_fingerprint which is your fingerprint you got from the security settings. The other two things we need are the TF_VAR_digitalocean_pub_key and TF_VAR_digitalocean_private_key parameters which are the paths to your local SSH key files.
NOTE: The use of the file locations is actually not needed for basic key configuration using Terraform. I just thought we should set that up which will come to use later on in other blogs around using Terraform with DigitalOcean.
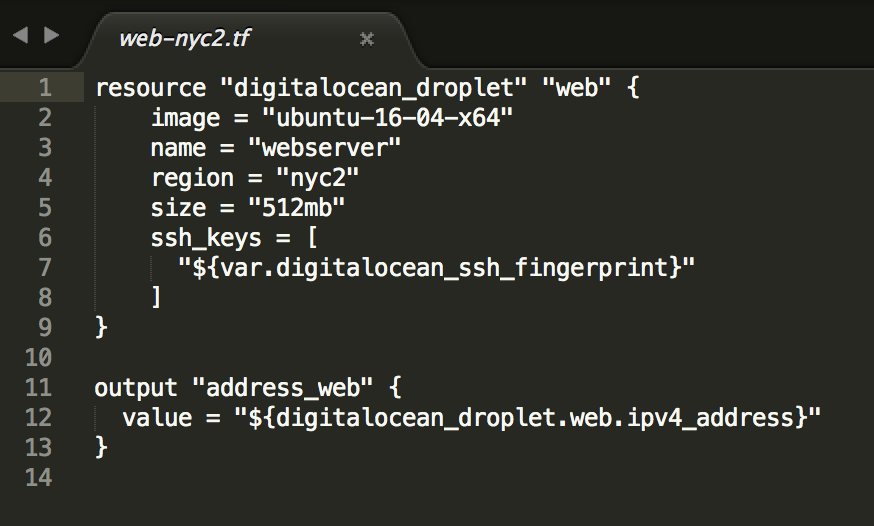
Use the export command to sett up your variables. Our Terraform file contains an extra config parameter now which you’ll see here:
These new parameters will read in all that we need to launch a new droplet, attach the appropriate SSH key by the fingerprint in DigitalOcean, and then to allow us to manage the infrastructure with Terraform.
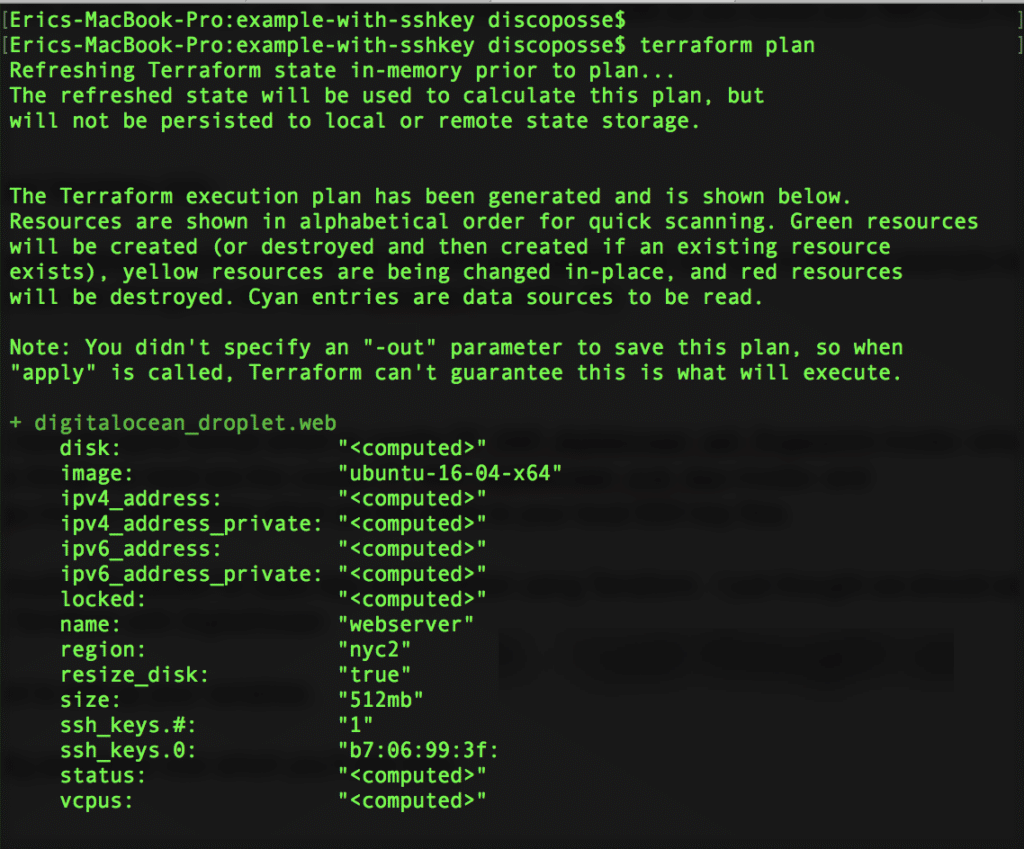
Time for our routine, which should always be: terraform validate to confirm our syntax is good followed by a terraform plan to test the environment:
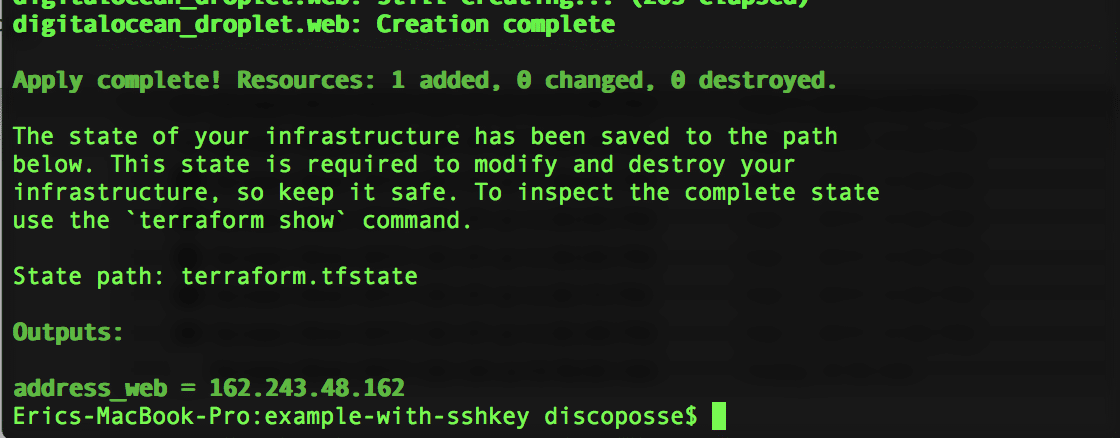
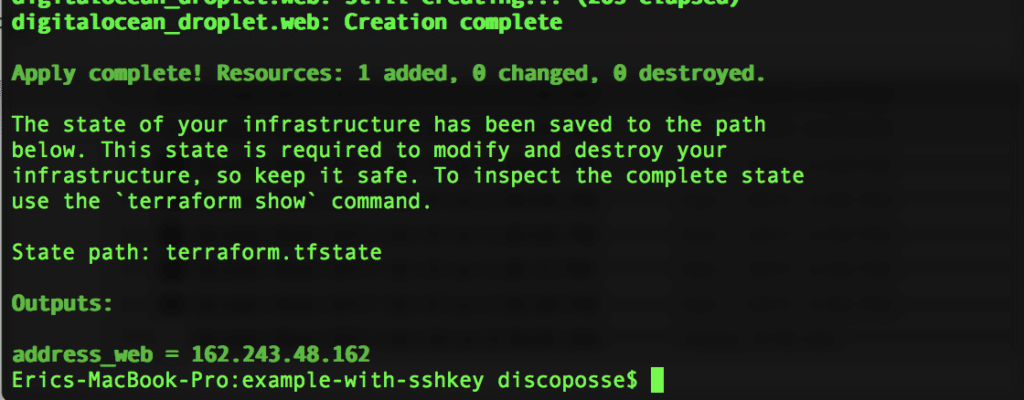
Now we run our terraform apply to launch the droplet:
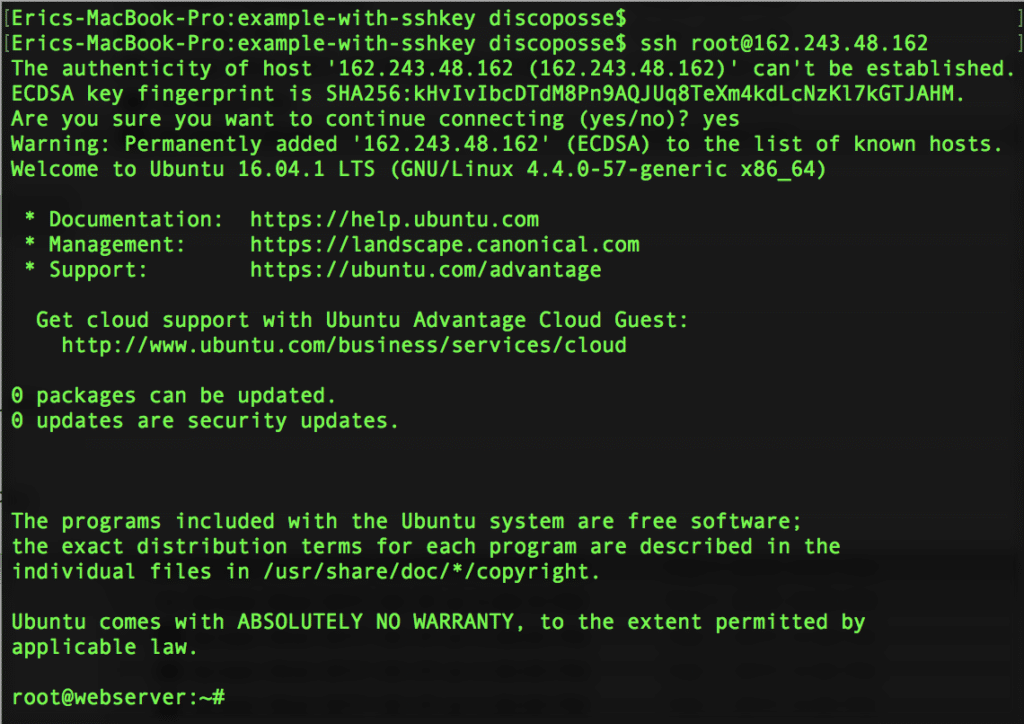
Now we have launched a droplet on DigitalOcean with Terraform. Use the SSH command line to connect to the droplet as the root account. Make sure you’ve done all the steps in the previous blog to set up your ssh-agent and then you should be all set:
This is the next step in making more secure, repeatable, and compassable infrastructure using Terraform on DigitalOcean. These same methods will also be showing up as we walk through future more complex examples on DigitalOcean and other providers.
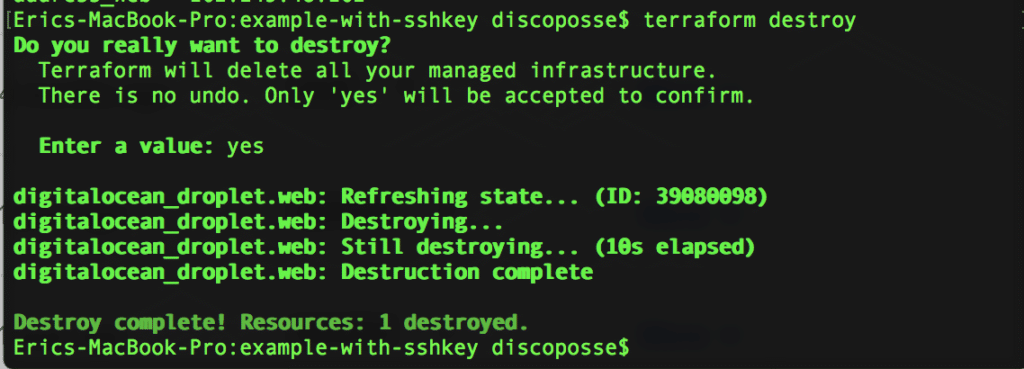
Let’s clean up after ourselves to make sure that we take advantage of the disposable and elastic nature of our public cloud infrastructure by very easily running the terraform destroy command to remove the droplet:
Hopefully this is helpful!

