

One of the things that I’ve done lately is to ensure that I keep my laptop clean of any development tools. The reason is that I have run into a lot of problems with conflicts around versions, platforms, and general oddities that come as I deploy more and more different environments onto a single machine.
Using Virtualbox and Vagrant for Sandboxes
Luckily, using Vagrant and VirtualBox is both free and simple. I’ve even saved some of the steps by storing basic configs on my GitHub to share and to let the community save some steps.
Install VirtualBox
Got to http://www.virtualbox.org and you will see a nice shiny button on the main page to take you to the latest download, or you can also just got to https://www.virtualbox.org/wiki/Downloads to see the various versions.
In my case, I’m running Mac OSX, so I will choose the appropriate version.
Once it is installed (just take the defaults) then you can run VirtualBox for the first time to complete the initial configuration.
Install VirtualBox Guest Additions
When you launch VirtualBox for the first time, it will prompt you to install the VirtualBox Guest Additions. This is some add-on features to correct problems on some Linux guests. Since we are going to be using lots of Linux guests, you should run the update.
There is no other configuration needed for your VirtualBox because we are going to let Vagrant do all of the configuration from here on in.
Install Vagrant
Go to https://www.vagrantup.com/downloads.html to get the latest and greatest Vagrant version, and install for your particular Operating System.
There are no configuration steps required at all, so just take the defaults and you will be ready to go in a few minutes once the install wizard completes.
Install Git Client
If you are running OSX, just try to run Git from the command line and it will prompt you to install Xcode. Follow the steps and you will be Git-tastic in no time. Unfortunately, it does take a long time and download a lot of other stuff along with the Git client.
For Windows and Linux folks, go to https://git-scm.com/downloads and pick out the version of choice to install.
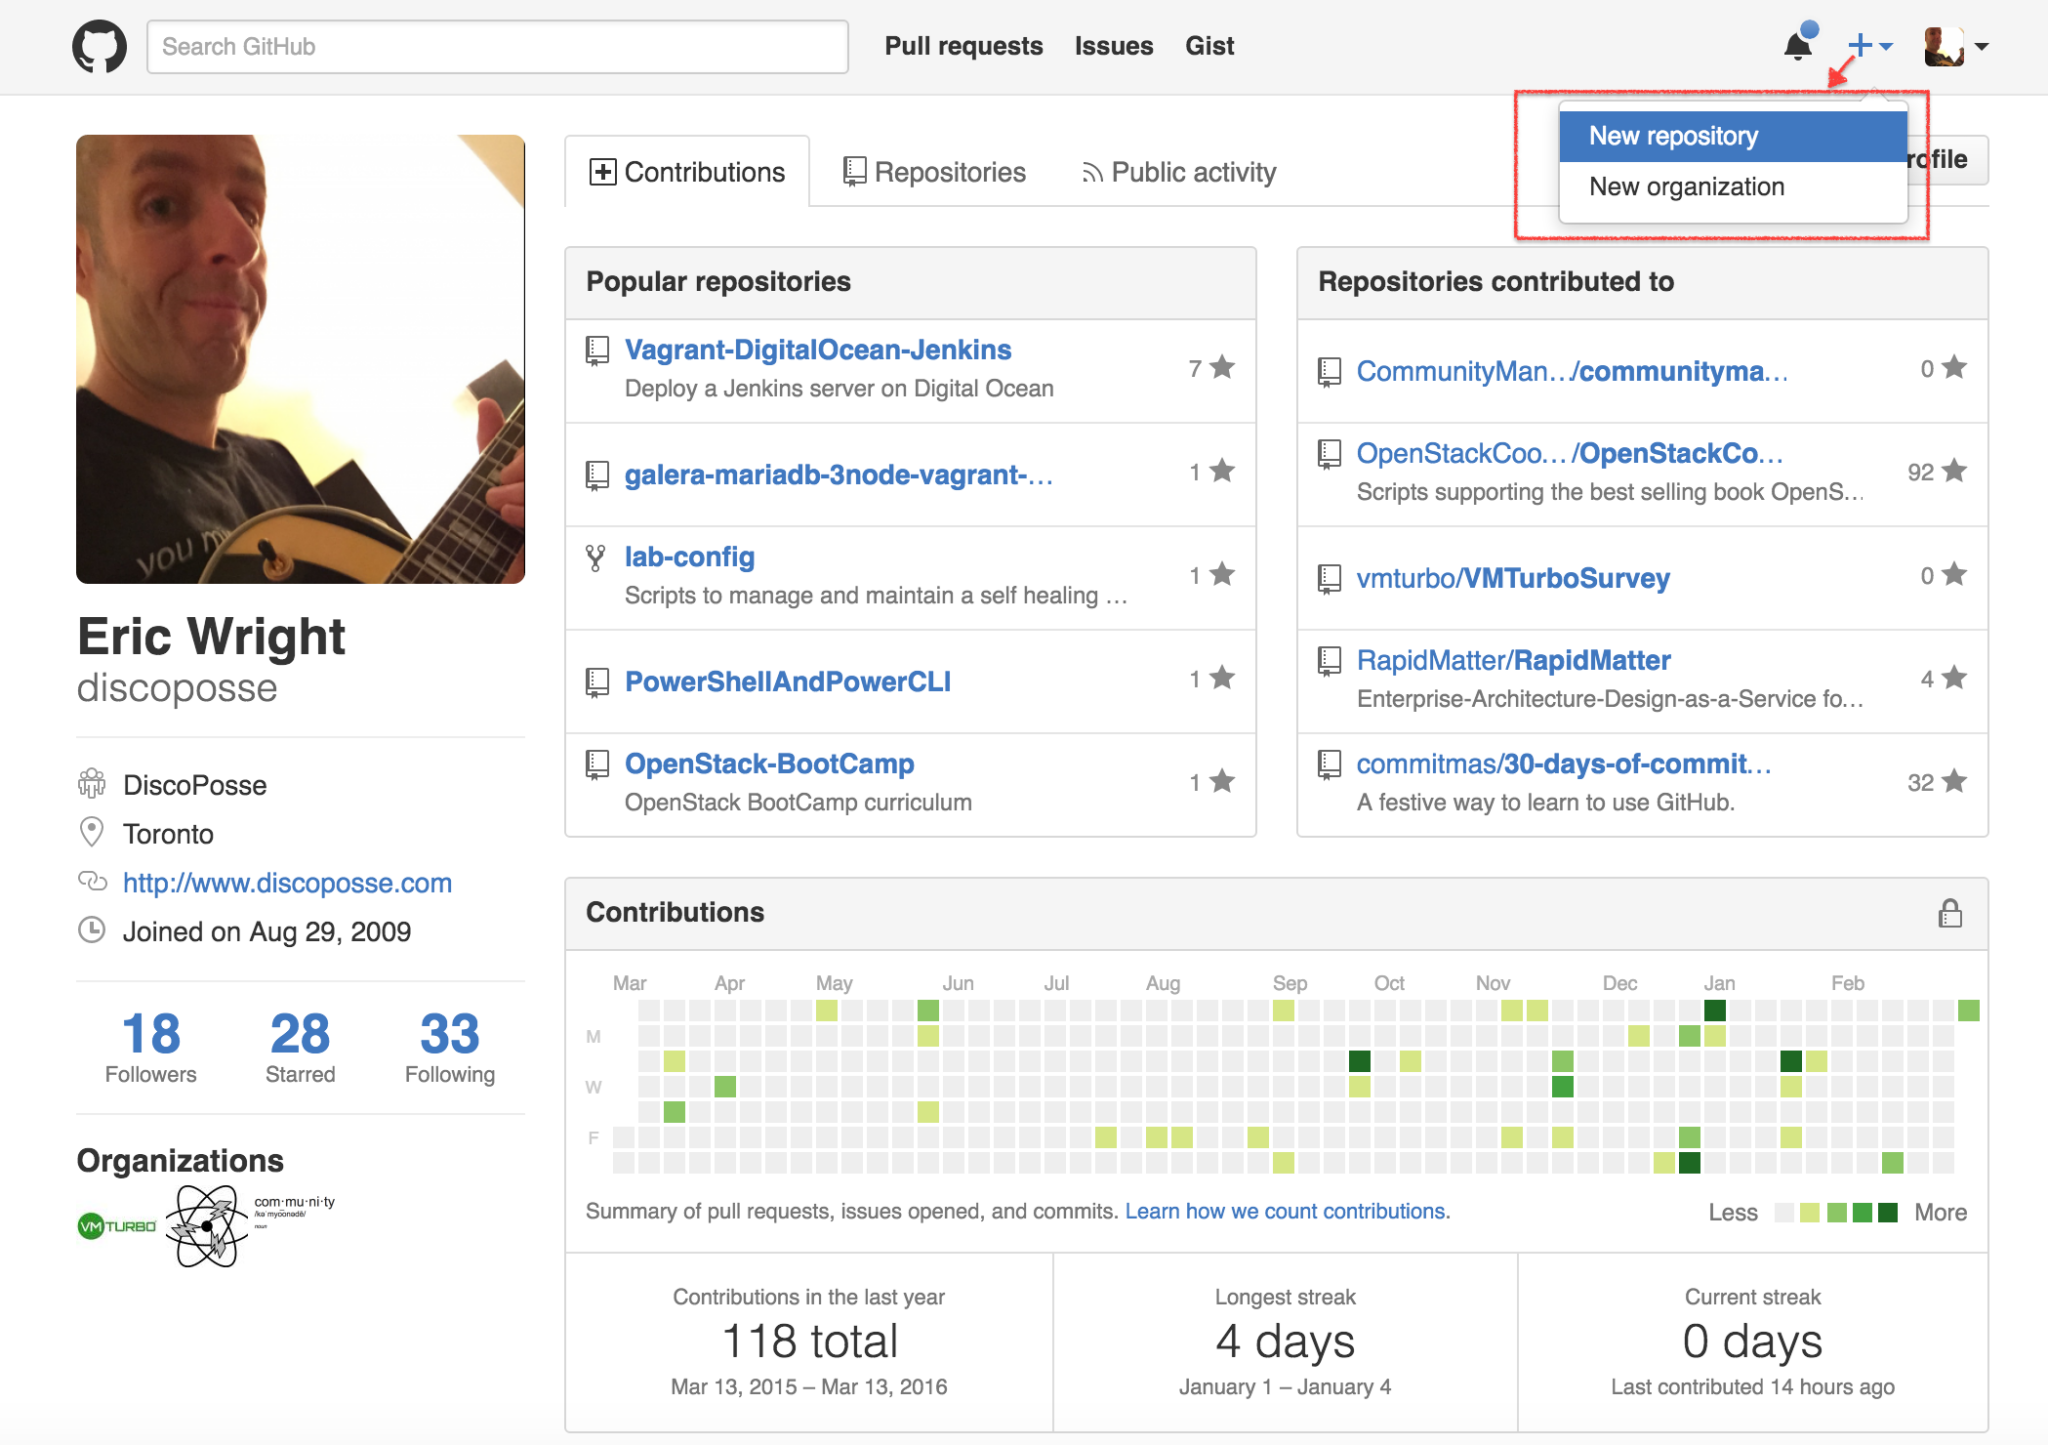
Create your GitHub Repository
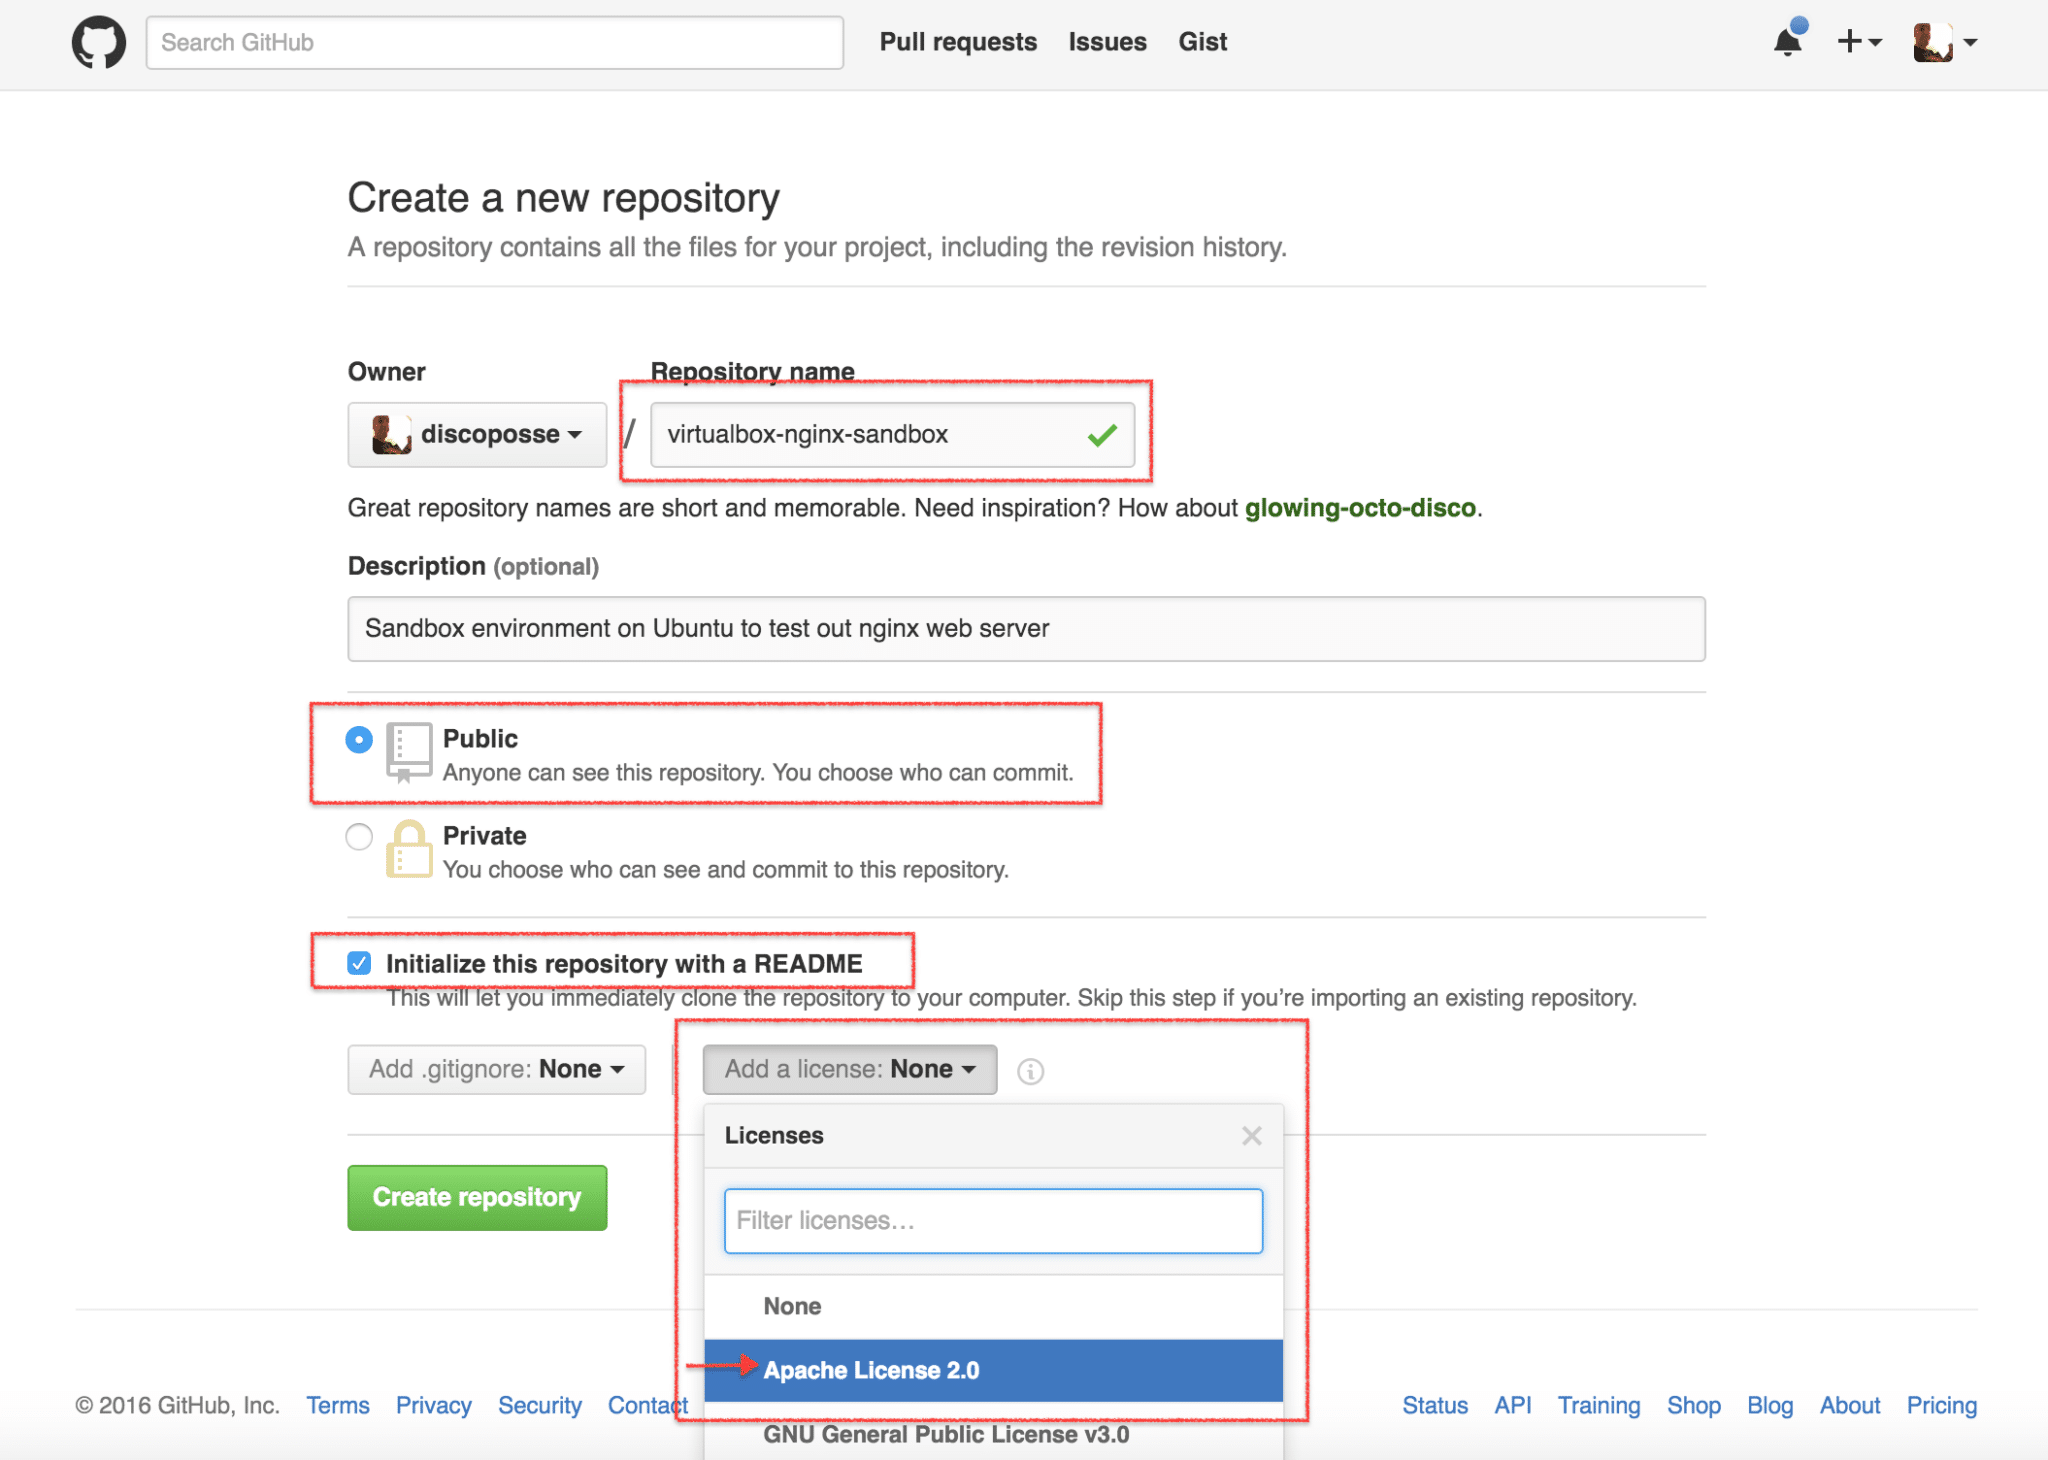
For my instances, I use the naming structure virtualbox-productname-sandbox, so if I want to create one to do some nginx testing, I would call it virtualbox-nginx-sandbox as an example.
Go to your GitHub account and create a new repository:
You will want to do the following steps:
- Name the repo (virtualbox-nginx-sandbox in my case
- Set the repo as Public
- Initialize with a README
- Add the Apache License 2.0
Next, let’s get the URL of the git repo to download and work with:
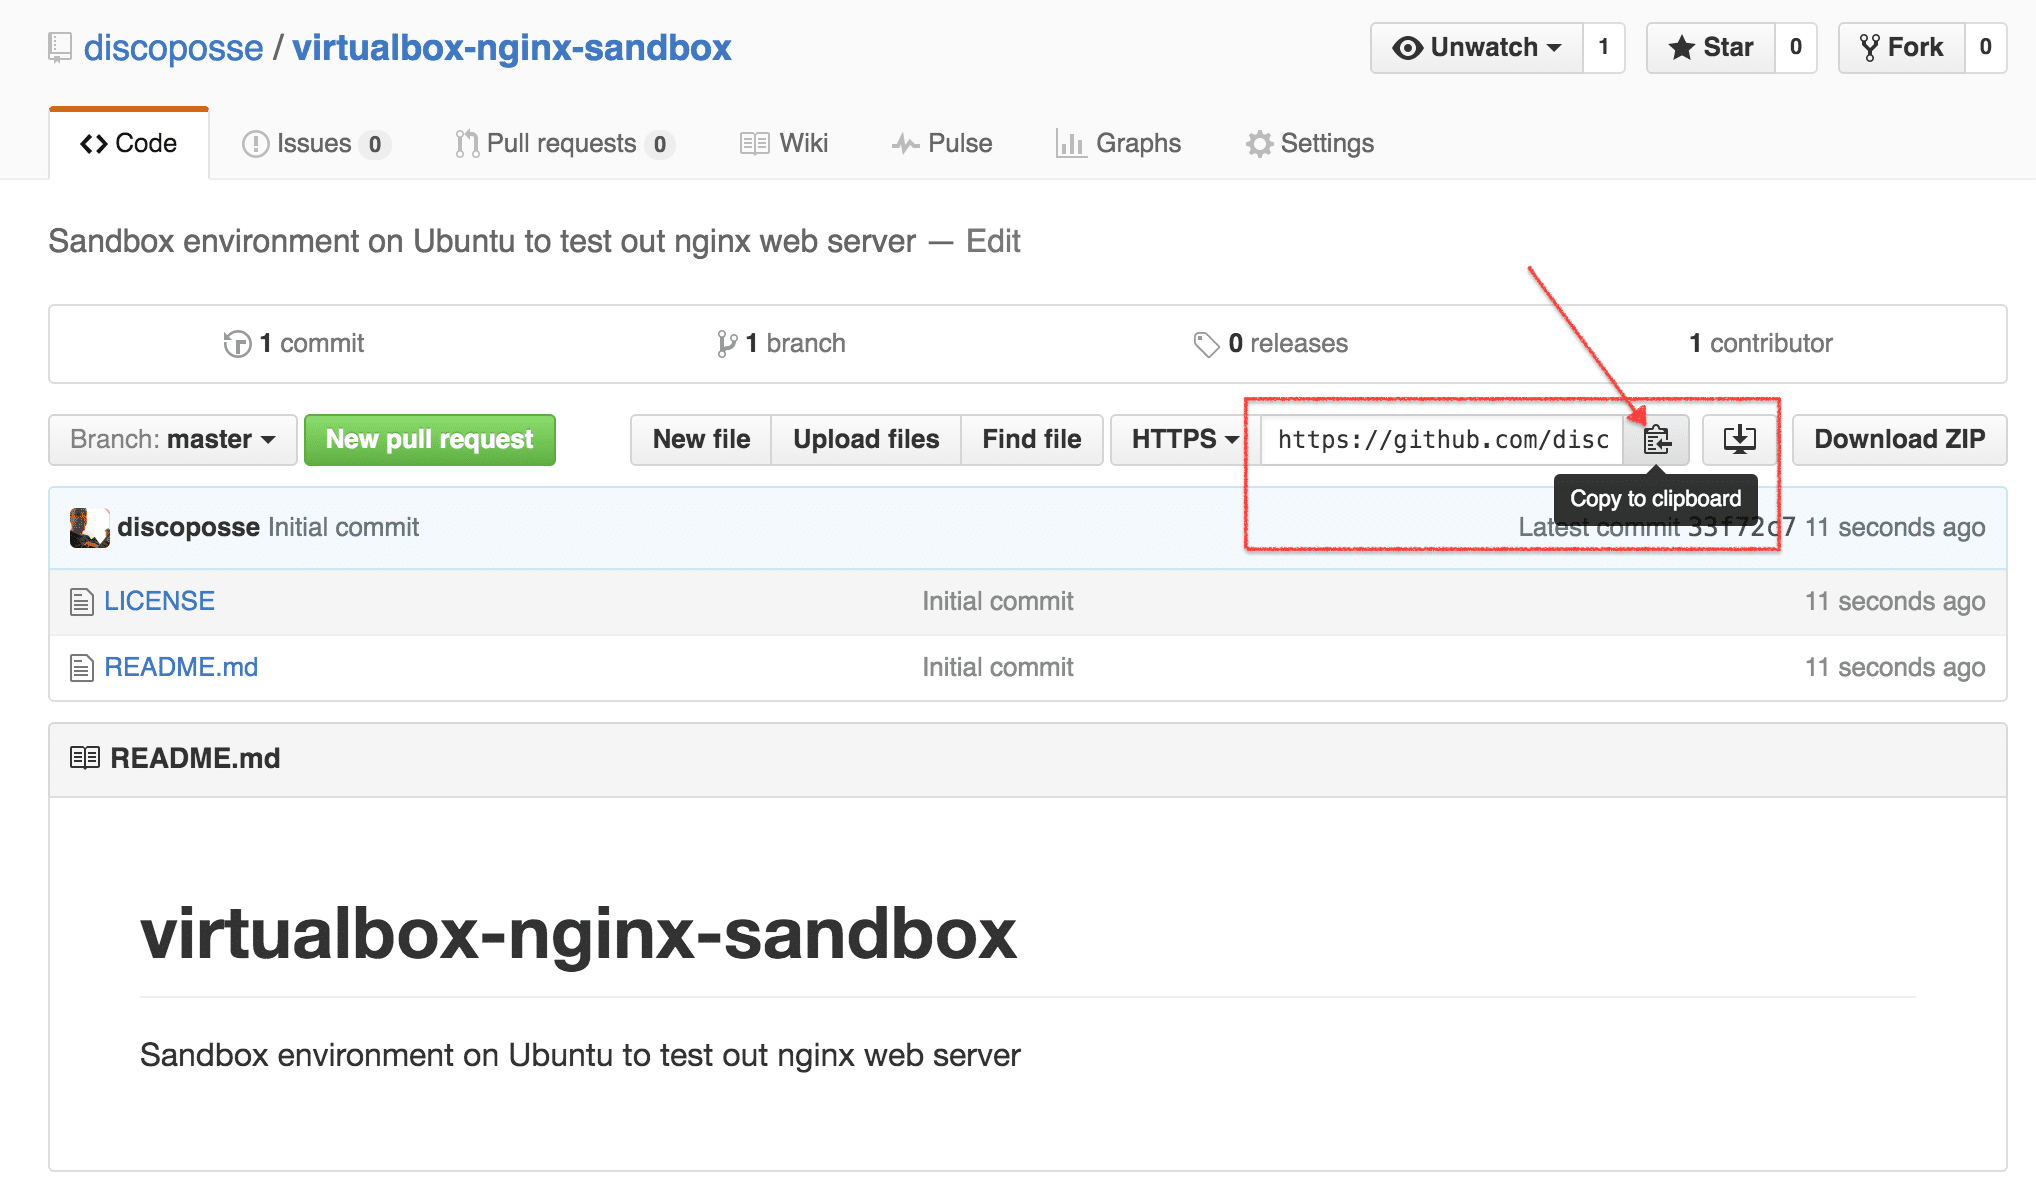
Use your nifty git command line to clone the repository and then we can get started with creating the basic machine:
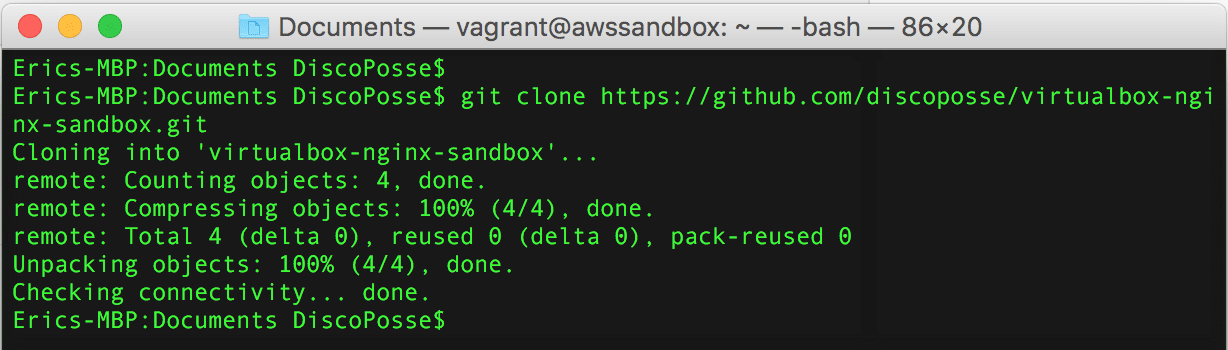
Make sure that you cd into your folder for the next steps to create the configuration files.
Configure a Basic Machine
My goto standard is usually an Ubuntu 14.04 LTS instance. This has been the classic for many build environments, so I will just need to set up a very simple Vagrantfile to do this.
The Vagrantfile file contents will look as follows:
# -*- mode: ruby -*-
# vi: set ft=ruby :
VAGRANTFILE_API_VERSION = "2"
ENV['VAGRANT_DEFAULT_PROVIDER'] = 'virtualbox'
Vagrant.configure(VAGRANTFILE_API_VERSION) do |config|
config.vm.define “mysandbox" do |mysandbox|
mysandbox.vm.hostname = “mysandbox"
mysandbox.vm.box = "trusty-server"
mysandbox.vm.box_url = "https://oss-binaries.phusionpassenger.com/vagrant/boxes/latest/ubuntu-14.04-amd64-vbox.box"
mysandbox.vm.provision :shell, :path => "build.sh"
end
end
This basic configuration creates an Ubuntu machine named mysandbox and uses NAT networking on an internal network which will have access to the internet and your local network, but does not have a bridged NIC to connect back inside from external resources.
You will see that it also calls a shell script named build.sh which is our configuration file to do the basic installs and any customized package deployments.
For a basic machine, this is what the build.sh looks like:
#!/bin/bash
# build.sh
Authors: Eric Wright (@DiscoPosse)
export DEBIAN_FRONTEND=noninteractive
echo "set grub-pc/install_devices /dev/sda" | debconf-communicate
sudo apt-get update && sudo apt-get upgrade -y
sudo apt-get install -y git vim openssh-server && sudo reboot
We are setting the machine to run updates, a kernel upgrade to the latest revision, install a few packages, and then reboot.
Configure your .gitignore
The most important, but seemingly forgettable step is to create a .gitignore file which stops files from being ingested into a git repository. This is particularly helpful when you have downloads of base boxes, configuration files with passwords and other such local content you want to NOT go back up to the central repo.
Here is my basic .gitignore file:
*.box

.vagrant/
The file is designed to not allow VirtualBox images to be captures, and it also protects the .vagrant folder which creates temporary SSH keys and other content that is mean to be volatile and instance-specific.
Now you can simply do a git add to add your files, run a git commit to commit the changes, and finally a big old git push to push your changes up to the remote repository on GitHub.
Running your Sandbox Instance
It’s as easy as vagrant up and once your instance is started, you can run vagrant ssh YOURHOSTNAME where YOURHOSTNAME is the name of the host from your Vagrantfile.
Now you have a nifty little sandbox server to run all of your testing without having to much around with tons of configuration and local conflicts.
WARNING: You have to remember that this is a sandbox instance and is not storing your changes anywhere except locally. Because you excluded the .box in our .gitignore file, the machine itself is not being backed up to the repository.
You won’t want to use GitHub to hold your sandbox servers, but you may want the internal code to be stored somewhere. For that reason, please make sure that back up any code you create or special files that need to be saved.
Oops…I need to Rebuild
It’s as easy as vagrant destroy and then running vagrant up and you are back up and running with your basic sandbox server. This is helpful when things go a little sideways and you need to go back to the beginning.
You can also take snapshots within Virtualbox which I will put into another post soon.
Happy sandboxing!