

One of the greatest things about open source and free tools is that they are…well, open source, and free! Today I’m sharing a simple HashiCorp Nomad lab build that I use for a variety of things. The reason I want to be able to quickly spin up local lab infrastructure is so I can get rid of the mundane repetitive tasks. Being able to provision, de-provision, start, and stop servers easily means you can save a ton of time and
Now for the walk through to get you to show just how easy this can be! Skip ahead to whatever part of the steps you need below. I’ve built every step so that you can easily do this if you’ve got no experience.
Step 1: Getting the Tools
You’re going to need Vagrant and VirtualBox. Each are available free for many platforms. Click these links to reach the downloads if you don’t already have them. There is no special configuration needed. My setup is completely default.
HashiCorp Vagrant: https://www.vagrantup.com/downloads.html
Oracle VM VirtualBox: https://www.oracle.com/virtualization/technologies/vm/downloads/virtualbox-downloads.html or https://www.virtualbox.org/wiki/Downloads
Step 2: Getting the Code
The GitHub repository which contains all the necessary code is here: https://github.com/discoposse/nomad-vagrant-lab
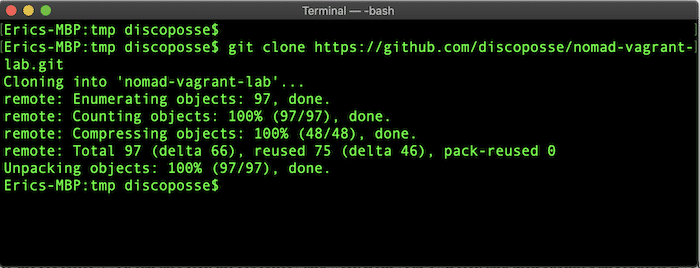
Just go there and use the Clone or Download button to get the URL and then do a git clone command:
git clone https://github.com/discoposse/nomad-vagrant-lab.git
If you want to contribute to the repository, you can also fork the repository and work from your own fork and then submit pull requests if you wish.
Step 3: Configuring the lab for 3-node or 6-node
Making the choice of your cluster and lab size is easy. One configuration (Vagrantfile.3node) is a simple 3-node configuration with one region and a single virtual datacenter. The second configuration (Vagrantfile.6node) will create two 3-node clusters across two virtual datacenters (toronto and Vancouver) and across two regions (east and west).
Picking your deployment pattern is done by renaming the configuration file (Vagrantfile.3node or Vagrantfile.6node) to Vagrantfile
Seriously, it’s that easy. If you want to update the names of the regions or datacenter then you will do that by editing the server-east.hcl and server-west.hcl files. The 3-node configuration only uses server-east.hcl by default.
Step 4: Launching your Nomad Lab Cluster
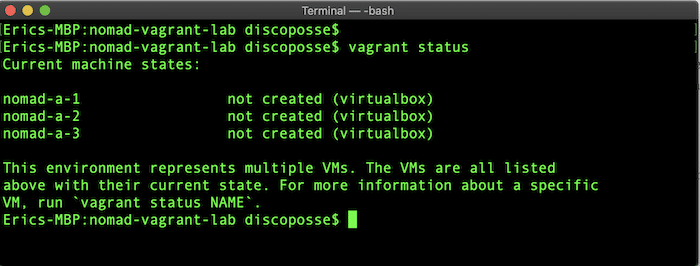
Launch a terminal shell session (or command prompt for Windows) and change directory to the folder where you’ve cloned the code locally on your machine. Make sure that everything is all good by checking with the vagrant status command:
Next up is starting the deployment using the vagrant up command. The whole build takes anywhere from 5-15 minutes depending on your speed of network and local machine resources. Once you run it once you also have the Vagrant box image cached locally so that saves time in the future for rebuilds.
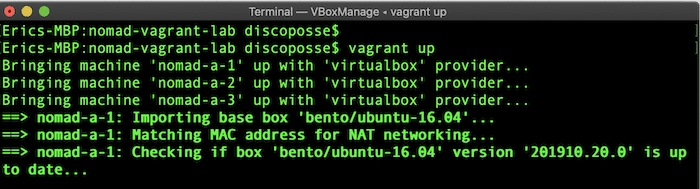
Once deployment is finished you’re back at the shell prompt and ready to start your cluster!
Step 5: Starting the Nomad Cluster
The process is easy for this because we are using pre-made shell scripts that are included in the code. Each VM comes up with the local Github repository mapped to the /vagrant folder inside the VM. Each node has a file named after the node name. It’s ideal if you have three (or six for a 6-node configuration) terminal sessions active so you can work
- Connect via ssh to the first node using the command vagrant ssh nomad-a-1
- Change to the code folder with the command cd /vagrant
- Launch the Nomad script with this command: sudo sh launch-a-1.sh
- Connect via ssh to the second node using the command vagrant ssh nomad-a-2
- Change to the code folder with the command cd /vagrant
- Launch the Nomad script with this command: sudo sh launch-a-2.sh
- Connect via ssh to the third node using the command vagrant ssh nomad-a-3
- Change to the code folder with the command cd /vagrant
- Launch the Nomad script with this command: sudo sh launch-a-3.sh
The reason I’m detailing the manual clustering process is that this is meant for folks getting started. I will run a different process to start services automatically in another blog.
Step 6 (Optional 6-node configuration): Starting the Second Nomad Cluster
The process is just as easy for the second cluster because we are using pre-made shell scripts that are included in the code. Each VM comes up with the local Github repository mapped to the /vagrant folder inside the VM. Each node has a file named after the node name. It’s ideal if you have three (or six for a 6-node configuration) terminal sessions active so you can work
- Connect via ssh to the first node using the command vagrant ssh nomad-b-1
- Change to the code folder with the command cd /vagrant
- Launch the Nomad script with this command: sudo sh launch-b-1.sh
- Connect via ssh to the second node using the command vagrant ssh nomad-b-2
- Change to the code folder with the command cd /vagrant
- Launch the Nomad script with this command: sudo sh launch-b-2.sh
- Connect via ssh to the third node using the command vagrant ssh nomad-b-3
- Change to the code folder with the command cd /vagrant
- Launch the Nomad script with this command: sudo sh launch-b-3.sh
Step 7: Confirming your Cluster Status
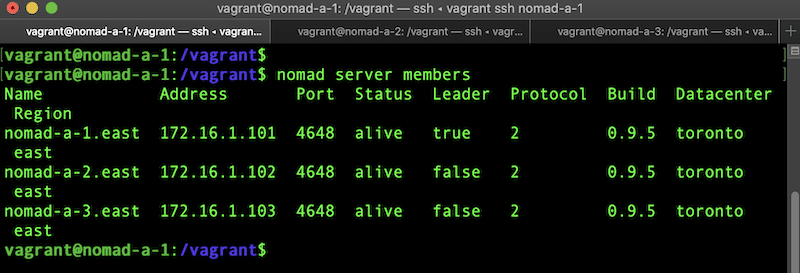
Checking the state of the cluster is also super easy. Just use the following command from any node in the cluster:
nomad server members
This is the output showing you have the 3 node cluster active:
Step 8: More learning!
There are lots of resources to begin your journey with HashiCorp Nomad. Not least of which is my freshly released Pluralsight course Getting Started with Nomad which you can view as a Pluralsight member. If you’re not already a member, you can also sign up for a free trial and get a sample of the course.
Hopefully this is helpful and keep watching the blog for updates with more lab learning based on this handy local installation.