So far in the series, we’ve covered installing your Rancher instance on Ubuntu, and attaching Rancher to the Docker host on Ubuntu. Next up we want to be able to stretch our wings a bit and add some other container images.
Rather than downloading the images individually and having to then work from a local instance, Rancher allows us to connect to an external registry which can be the DockerHub, Quay.io, or a custom registry which could include private Docker hub instance.
Adding Docker Hub as a Registry in Rancher
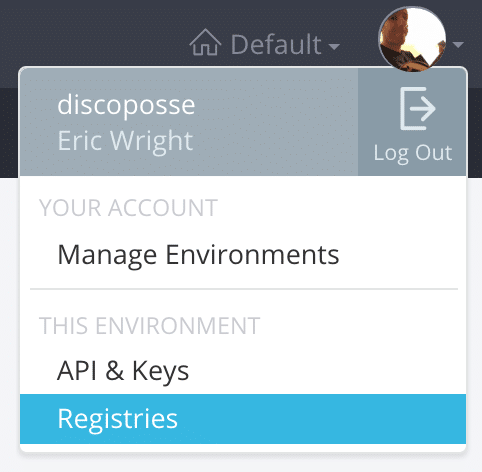
In the upper right corner, you will see your user icon. Click the down arrow which will bring up the menu, and select the Registries option:
In your Registries screen, click the Add Registry button:
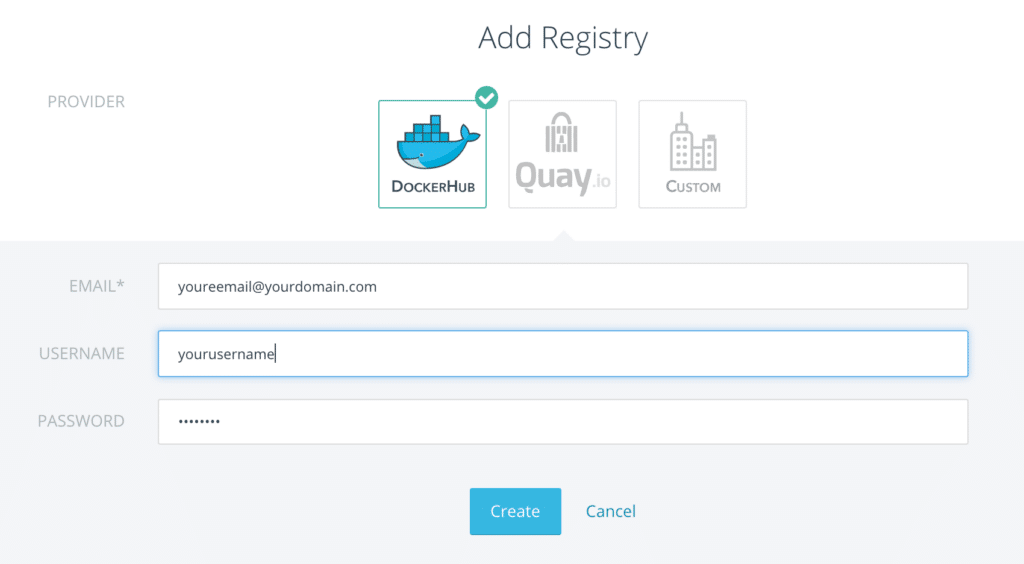
You can see that the default setting button in our case is the DockerHub, and you could select others as well, but for now let’s start with the public DockerHub. You’ll need a DockerHub account which you can get by registering at https://hub.docker.com. Use the same credentials to add the DockerHub registry in Rancher:
That will bring you to the Registries screen again and you’ll see DockerHub with the state as Active:
That’s the first part of the fun, so let’s up our game and add a container in Rancher straight from DockerHub.
Using DockerHub Images with Rancher
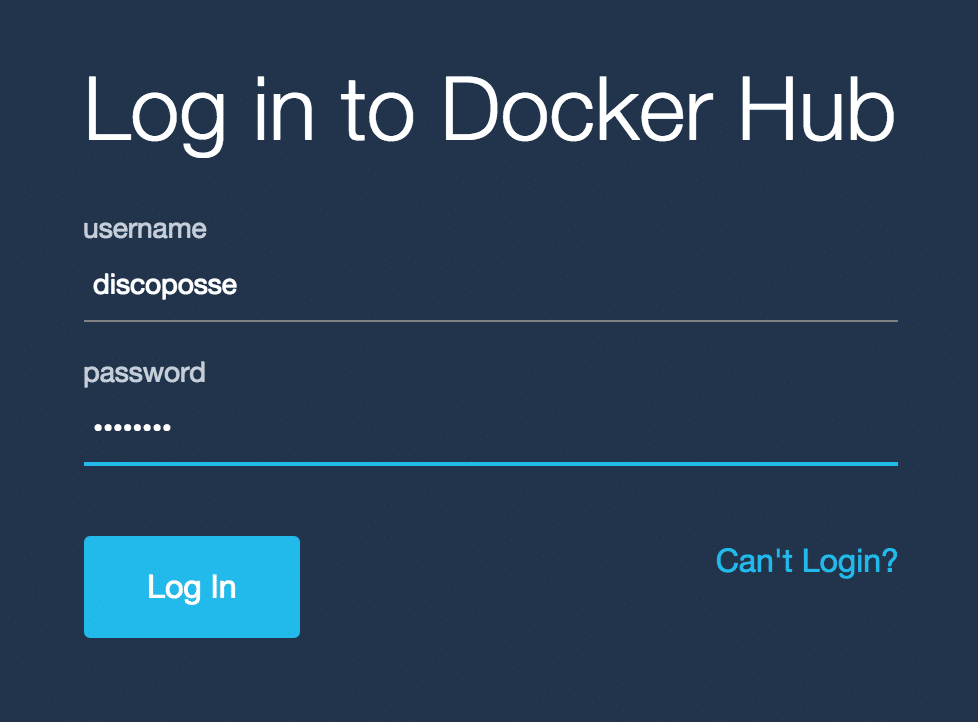
Let’s start by going to https://hub.docker.com/ and logging in. This will be helpful as we pick which container images to try out:
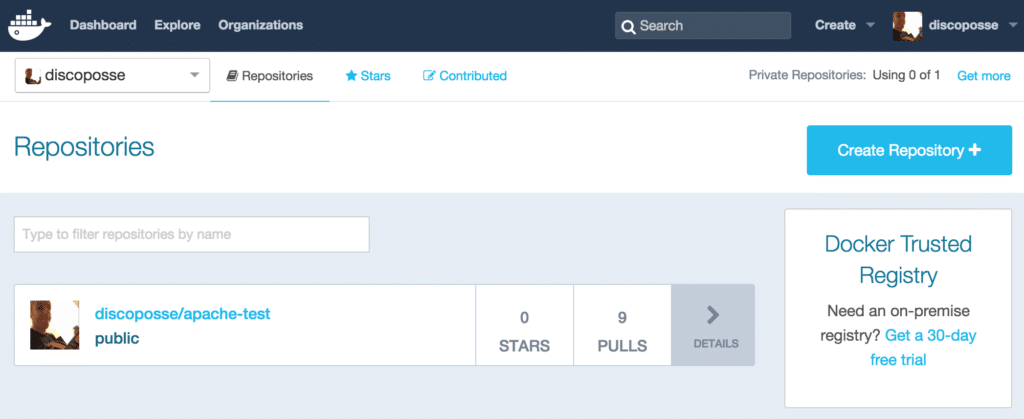
As it turns out, I happen to have a test image already stored in my repository called discoposse/apache-test which is a good place to start:
In your Rancher UI, click the Infrastructure top menu and then the Containers link on the secondary menu, then click the Add Container button:
The Name and Description options are free form text. For the sample, I’m calling this Apache Test, and the description can be anything you want. Under the Select Image field, you have to type the same name that appeared in the DockerHub in the form of [username]/[image name] but sometimes you may find some that are also “official” images that won’t have a username at all.
The example for us is discoposse/apache-test as shown here:
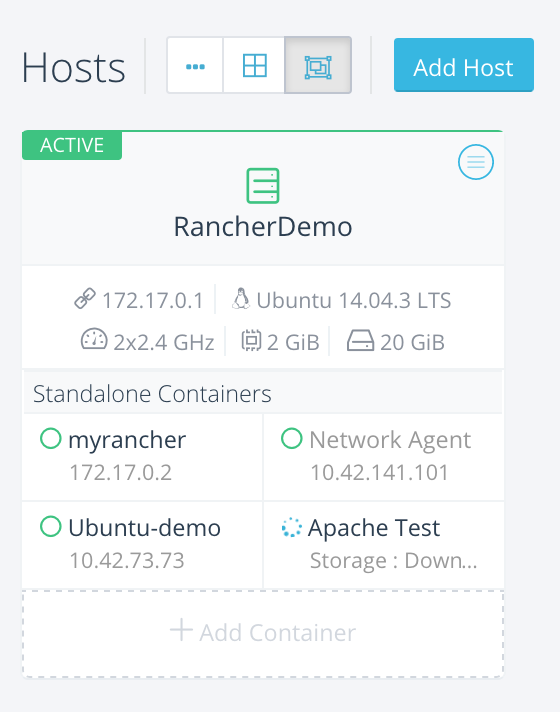
In the Hosts view you will see the container as it is being added:
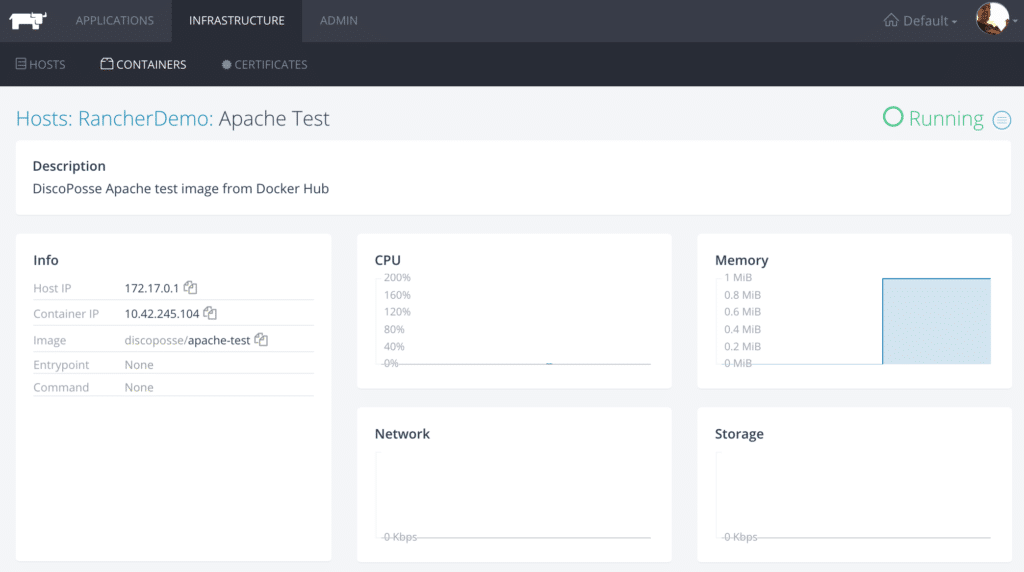
Once it’s completed, you can click the name to bring up the detailed view:
That’s one example which gives you an idea on a user-configured container that has been uploaded to repository. Let’s also grab another image from one of the official images that we find in the DockerHub.
I’m a fan of nginx, so that’s a great place to start. In the DockerHub, use the search field to find nginx which will bring up a number of results. At the top of the list will be the official nginx image provided by, yup you guessed it, nginx:
Back in Rancher, go to the Containers view under Infrastructure and click the Add Container button to create our nginx container. Again, the name and description fields are free form which you can fill in as you wish, but for the Select Image field, type in nginx:
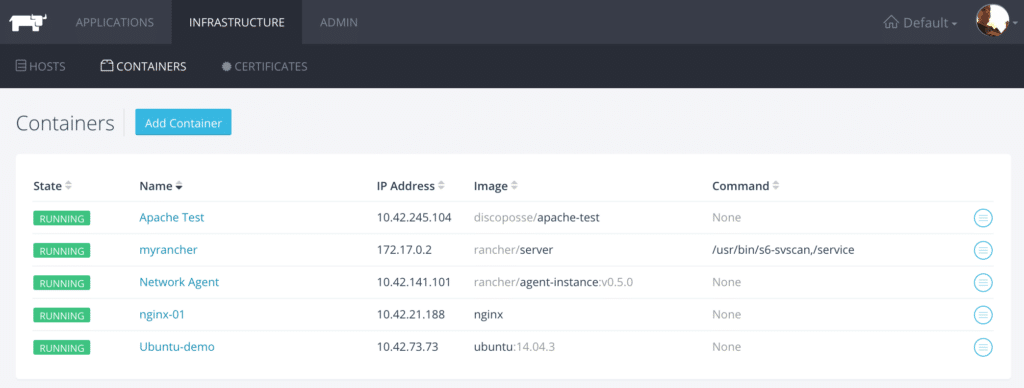
Under the Containers view you will see our list of active containers that includes both the Apache test and our freshly launched nginx instance:
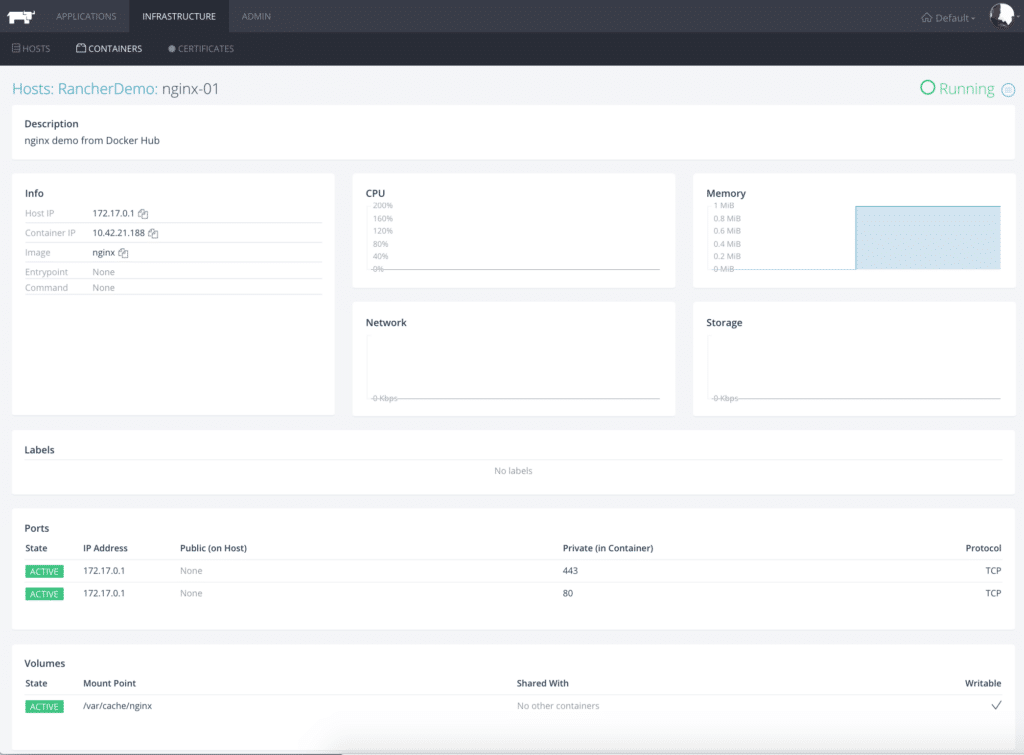
Click on the nginx-01 name, or whatever you happened to have named yours, and this will bring up the detailed view:
This is a great way to extend our Rancher capabilities to allow anyone using the system to launch containers directly from the public repositories. All with a few simple steps.
What’s Next?
Now that we have a DockerHub registry, a running Docker host, and a basic understanding of how to launch containers from the local images as well as from the DockerHub, it’s time to start using the Catalog view next. We can then get into building out some more examples using pre-built applications from the catalog in Part 4, and then begin to do advanced container configuration in Part 5.


