One of the fun parts of living my life in technology is that I really enjoy building web sites for different things I’m working on. Ok, I have a few too many. The bigger challenge is that I have a few different types of sites that I’m building.
Some are WordPress (which I use Kinsta for), some which are Ruby on Rails (which I use AWS EC2 for at the moment), and some which are Jekyll (which I’ve often just hosted as GitHub pages).
Jekyll is a nifty Ruby-based static page framework which makes my Infrastructure-as-Code goal achievable while keeping me fresh on some Ruby and HTML goodness. The issue I have with Jekyll on GitHub pages is that I want to do things like custom domains, subdomains, and collaboration with rapid updates.
Enter AWS Amplify!
Amplify is described as “set of tools and services that enables mobile and front-end web developers to build secure, scalable full stack applications, powered by AWS.” on the AWS console for the service.
There is a ton that can be done, and it’s also a very low cost way to run a front-end web application with lots of flexibility to leverage other adjacent services inside AWS.
Setting up Your Jekyll Site and Workflow
You already have your Jekyll code hosted somewhere for collaboration or just for basic version control. My example here uses GitHub with a private repository.
Launching the AWS Amplify wizard begins with checking which version control system you want, or you can also just choose to deploy without a Git provider like using an S3 backend.
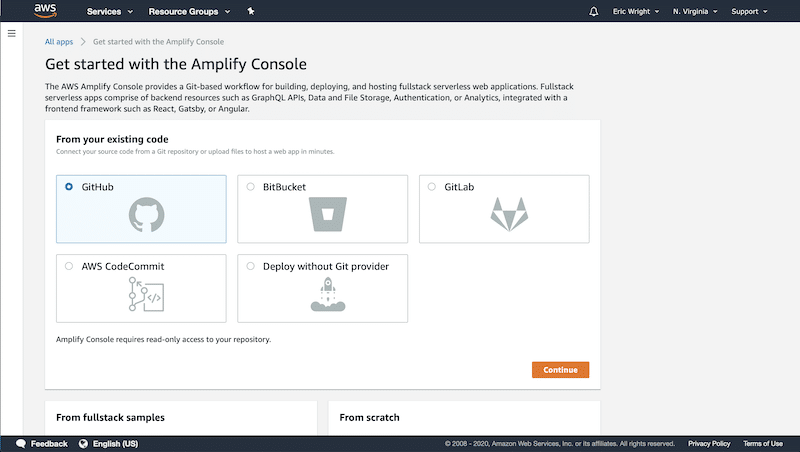
You pick GitHub and connect up to your account. I’ve already done this once so you may get a prompt to allow AWS Amplify to authenticate with GitHub if you are doing this for the first time.
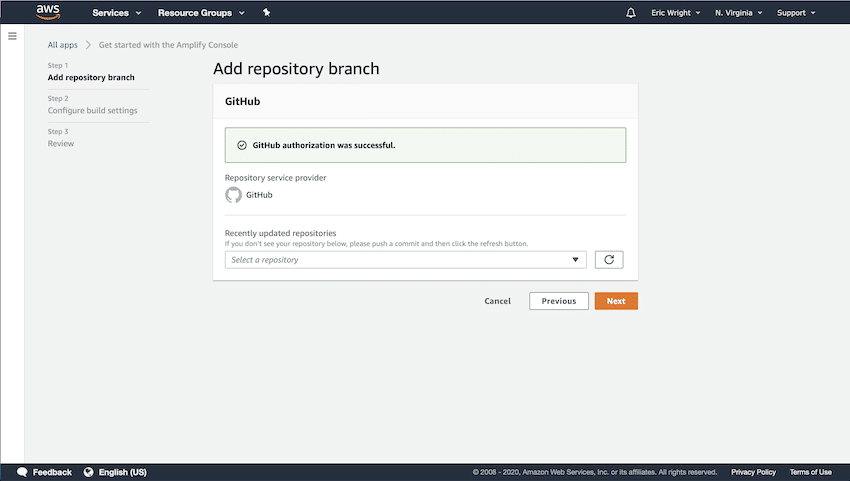
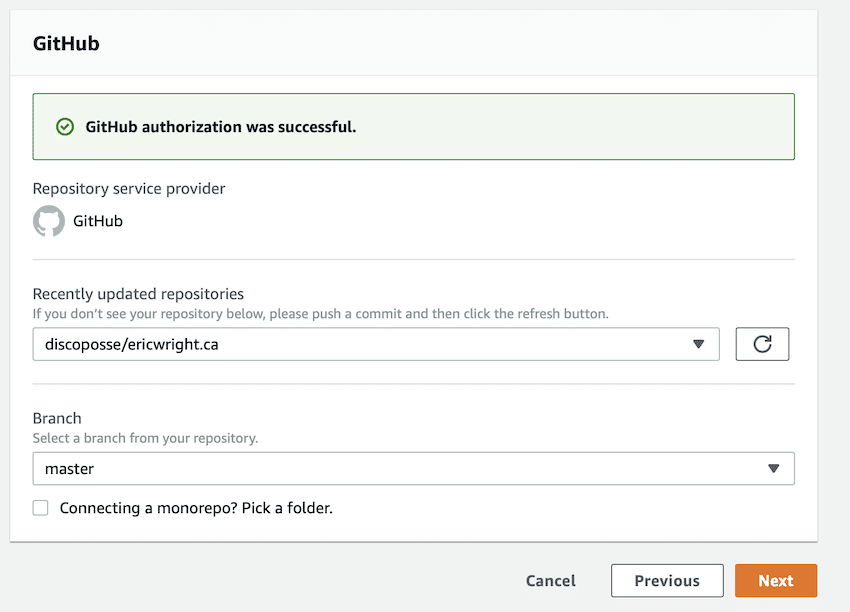
The cool thing is the dropdown will automatically find repositories with Amplify-compatible code so I already see my Jekyll and HTML repos marked for me in the drop down. This one will be my private repo that I’ve called ericwright.ca which will also be the domain I set up in a follow up post.
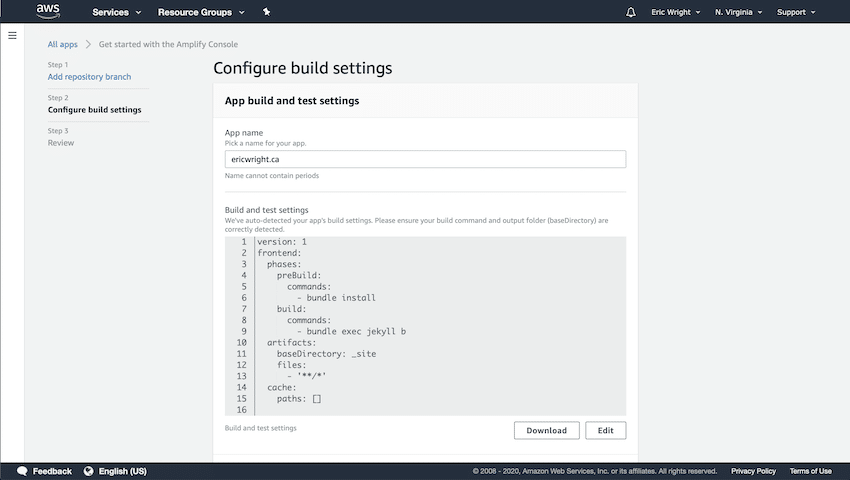
You get a prompt for downloading or editing the configuration in case you have some custom details to inject. Good for keeping offline in case you’re building a few and want to share config files and settings.
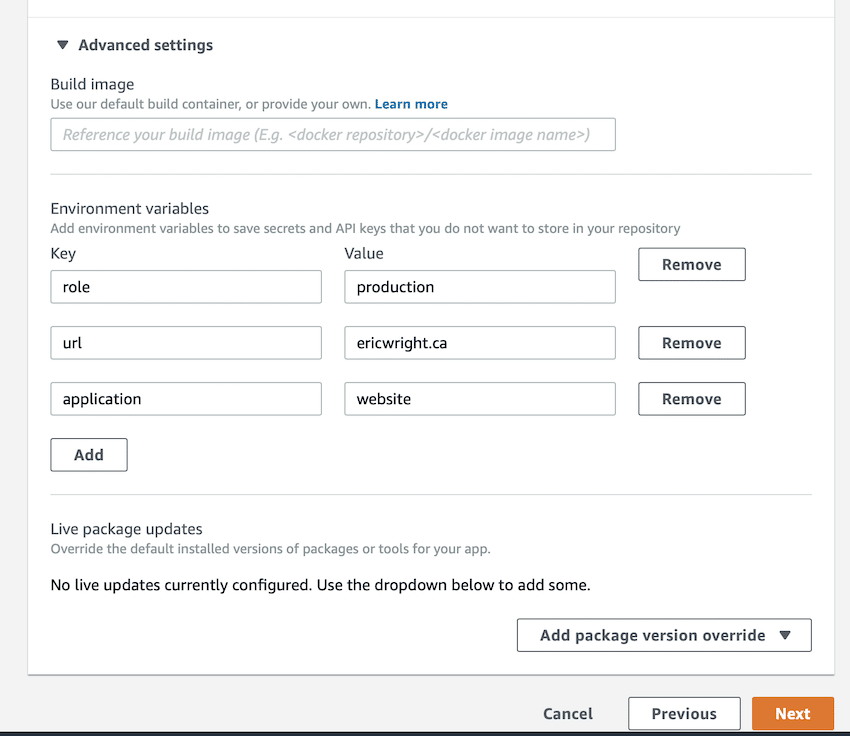
Expanding the Advanced Settings (always check the advanced settings!) let’s you do things like add Environment Variables. I’m using these like my typical tag configuration and map a few things I use for other automation.
Now you’re all set for your first deployment! Click the nice shiny Save and Deploy button and then you see the magic happen right in your AWS console.
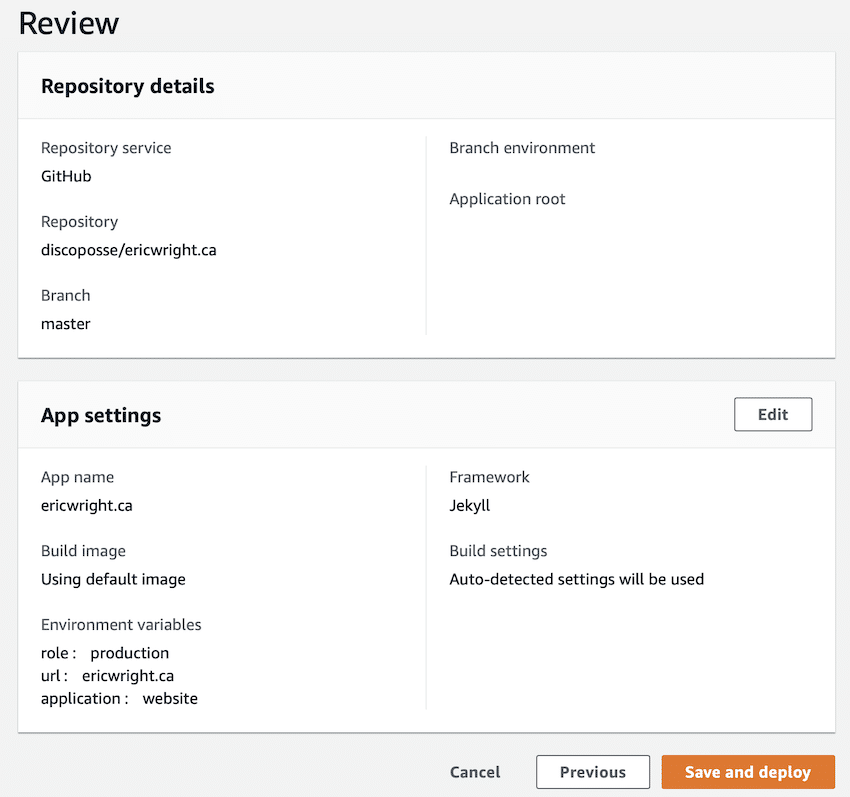
Remember that my reason for doing this is that I want a few criteria which will include:
- Collaboration – using GitHub in my case
- Custom domain and subdomains – I already use Route53 so this is easy to connect up
- TLS configuration – you get a free TLS/SSL certificate with your AWS Amplify app which is auto-configured for you
Let’s jump back in and see the process in action! You see the 4-part process underway showing a Provision | Build | Deploy | Verify process that will progress as you watch.
First implementation takes a few minutes as the backend is created for your AWS Amplify app.
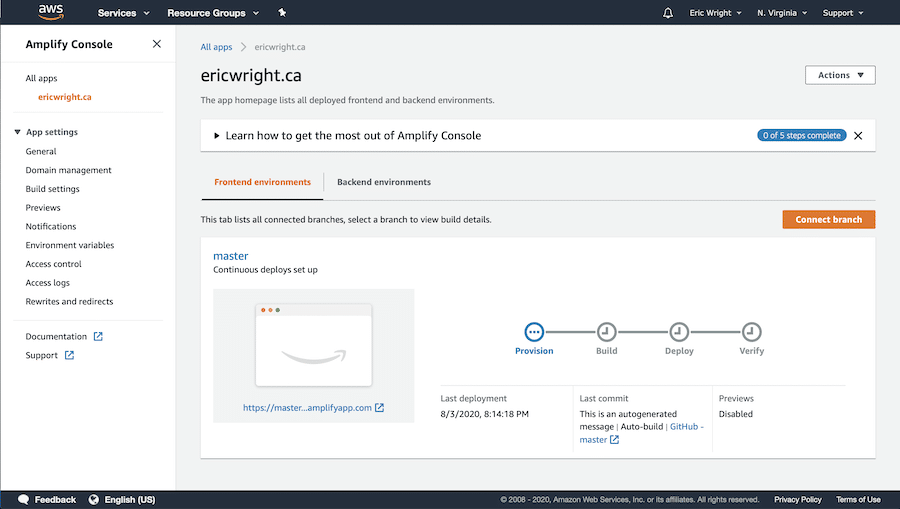
It’s kinda cool to just watch those little arrows turn green and then you are give your amplifyapp.com domain which is an auto-generated URL with some UUID on the front of it.
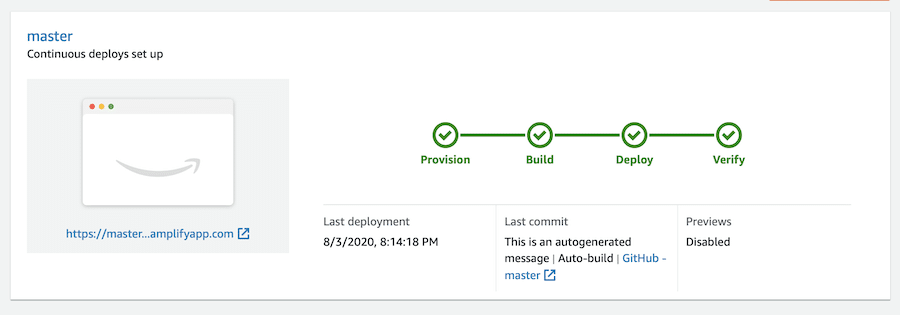
Voila! We have our Jekyll site up and running with the default domain that is provided. It’s just that easy!

That’s great, but I also want to see how this is now a workflow instead of just a static hosting that I have to manage getting content in and out of using something else. (anyone remember FTP…eek!).
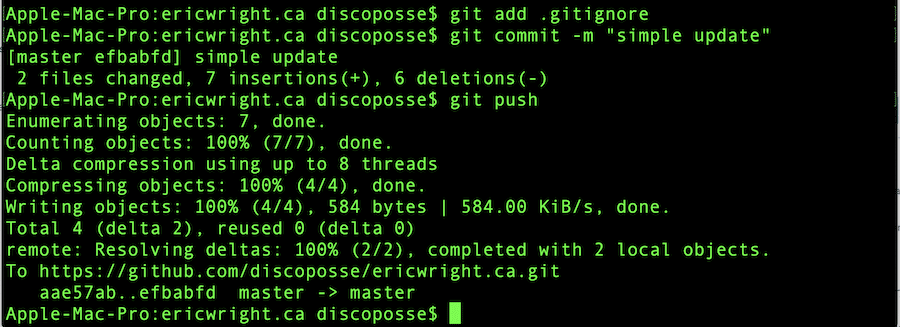
You can run a few updates through your code and then just add, commit, and push back to the repository and there is a trigger already configured (on the Master branch in my case).
Head back over to your AWS Amplify console and you can even watch it update live through the 4-step process. So cool!

Now the code is deployed and my Cloudfront is automatically updated in the backend for me so that I can view the updates right away.
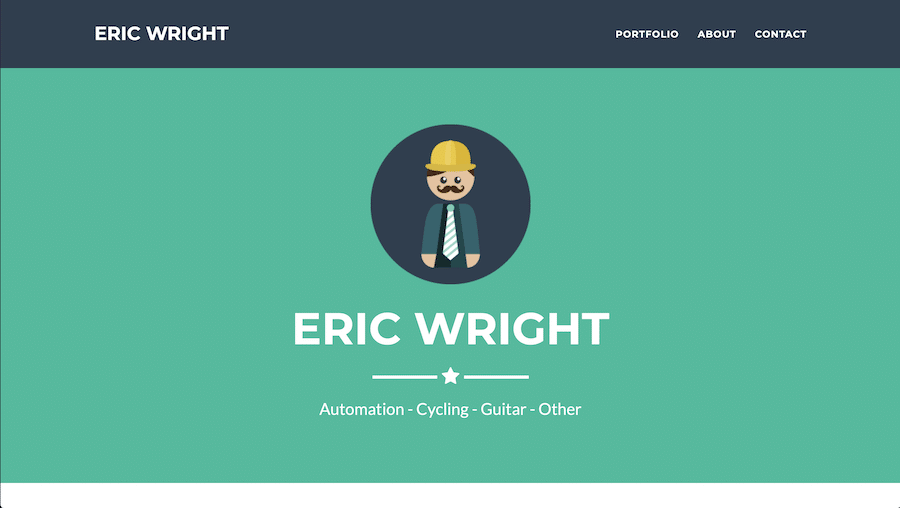
Now you are up and running with a default domain name and working web site. Great start, but we have more to explore as we go one step further and configure a custom domain and free TLS/SSL certificate in the next post.
What’s the Upside to AWS Amplify
Pricing anything in AWS can be a little challenging to wrap your head around. Amplify is one of those services that has a combination of charges based on a few factors. Full pricing is available at https://aws.amazon.com/amplify/pricing/ but here are the basics (as of the time I wrote this):
- Build time – $0.01 per build minute
- Data storage – $0.023 per GB stored per month
- Data viewed – $0.15 per GB served
That’s really cheap compared to some of the alternatives, especially because if comes with a free TLS cert. Pricing is one win and the second one is just the ease-of-use. It literally took me a few minutes to configure with the wizard and that’s it. I’m fully up and running with collaborate code, DNS configuration (next post), TLS (also…next post), and Cloudfront configured. I like easy!
But, What’s the Downside?
The upside is probably also the downside. It isn’t free. There’s a free tier for the first while which I’m sure I’ll blow through without much difficulty. Once you are getting charged you also have the challenge of understanding what your bill “might” be in advance. The pricing is very low, so I’m looking purely to replace some standalone EC2 stuff I’m running which is hosting a few web sites for me.
Stay tuned for the next part coming with your TLS/SSL and custom domain config.
