

Hashicorp is all kinds of awesome. That’s the real story here, but this is meant to highlight just one portion of the overall Hashicorp ecosystem. We are going to install Vault on Ubuntu in order to create a platform for storing secrets. This is part of the foundation of much of the 12-factor app concept, and the only way to truly get to a point of fully automated deployments without risking credential storage in code, or through manual input.
My example is running on a server in Digital Ocean. You can do the same with a simple 512 MB RAM/1 CPU instance which is the lowest cost alternative that they offer.
NOTE: This is a simple deployment in dev mode for a quick test. This is NOT a production-style deployment. Make sure to treat the server and any secrets you store inside it accordingly.
Installing from the Vault Binary
Many people are already cringing at the binary versus build from source decision. I’m going with the fast track just to get you up and running.
First you go to the Vault website to find the latest binary available. At the time of this writing, it is version 0.6.2 and is available by going to the download site here.
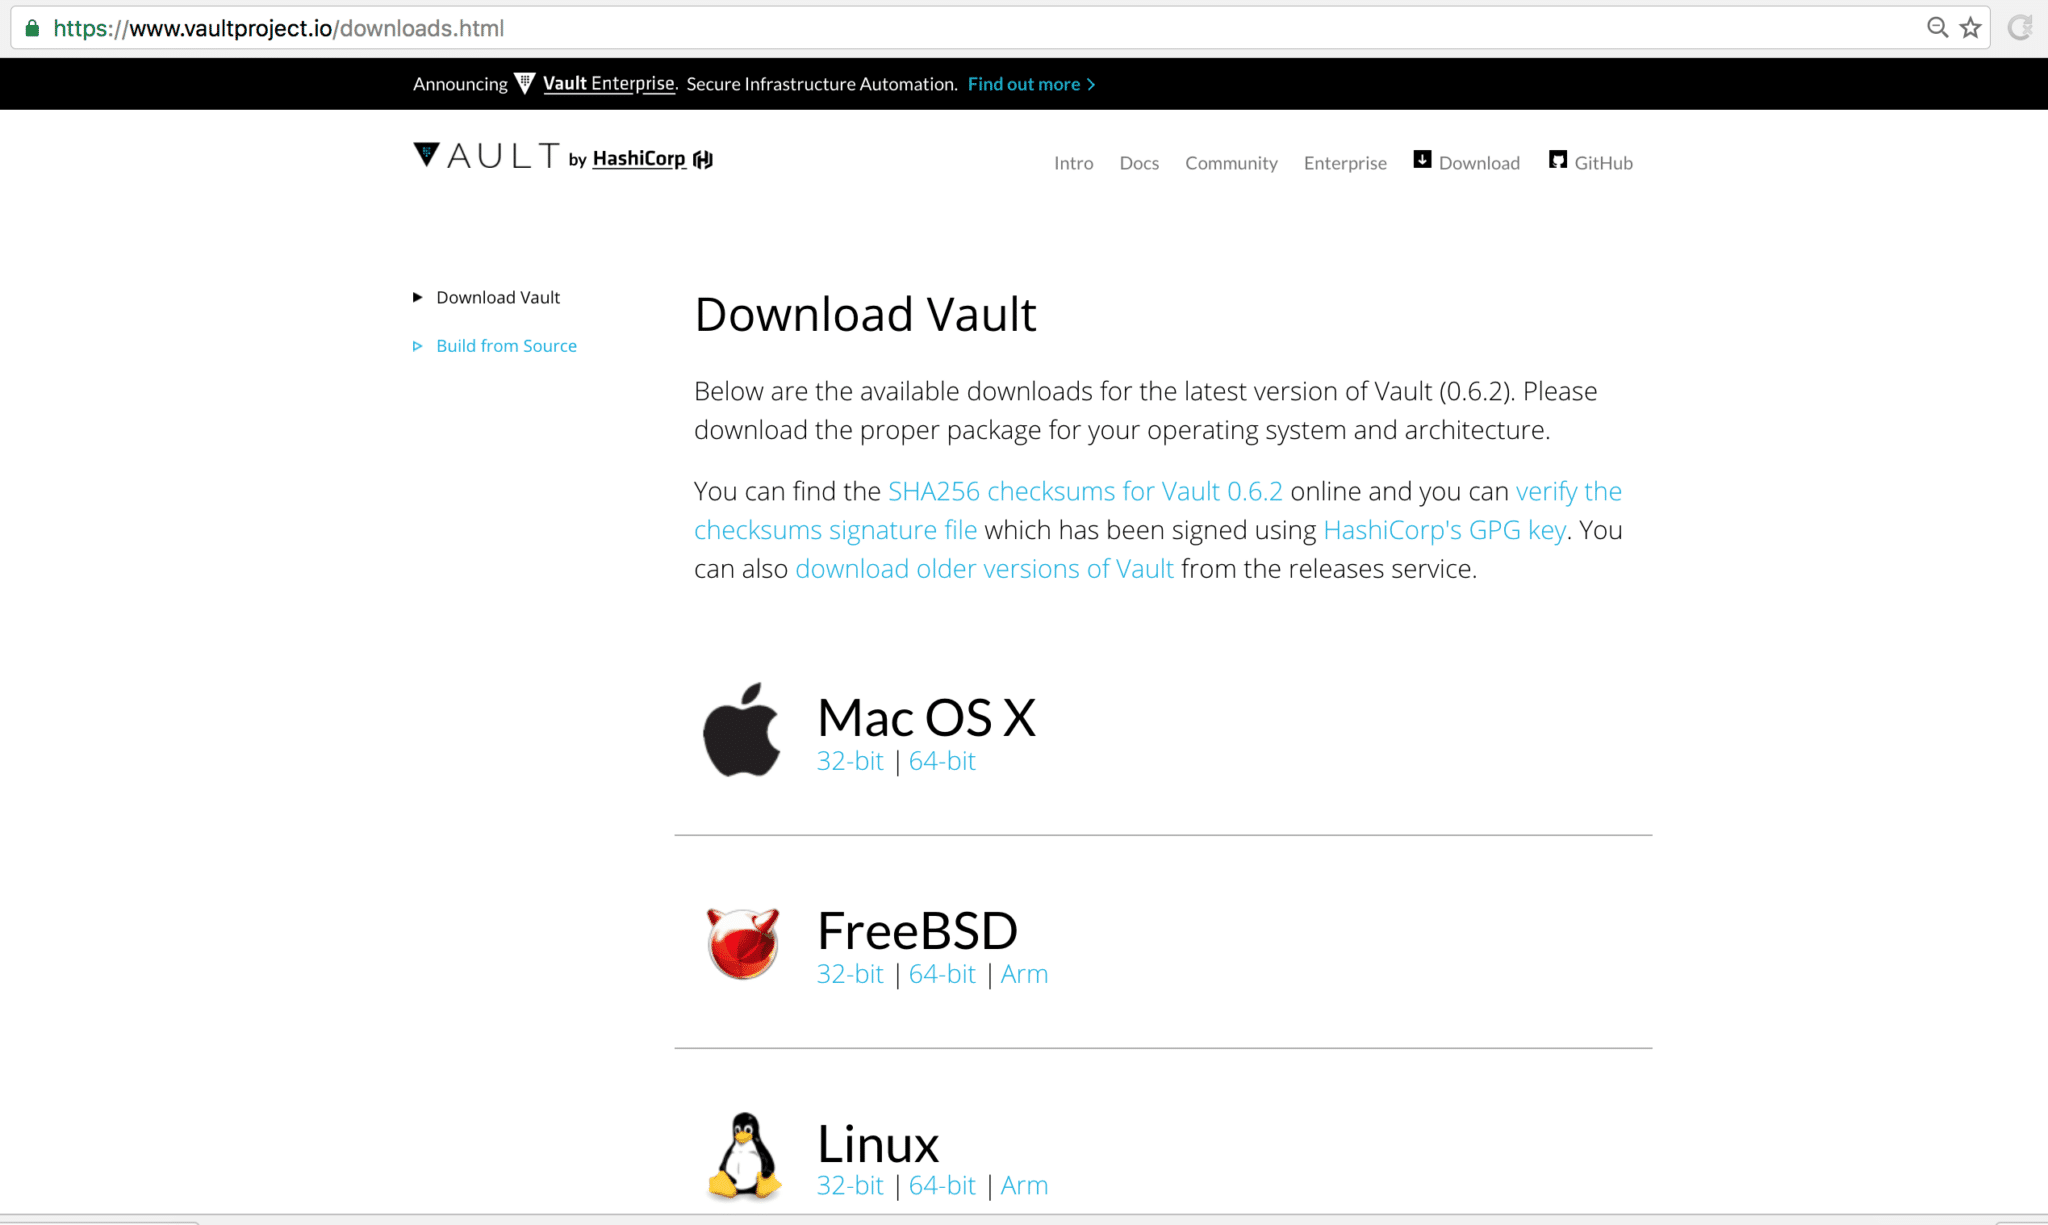
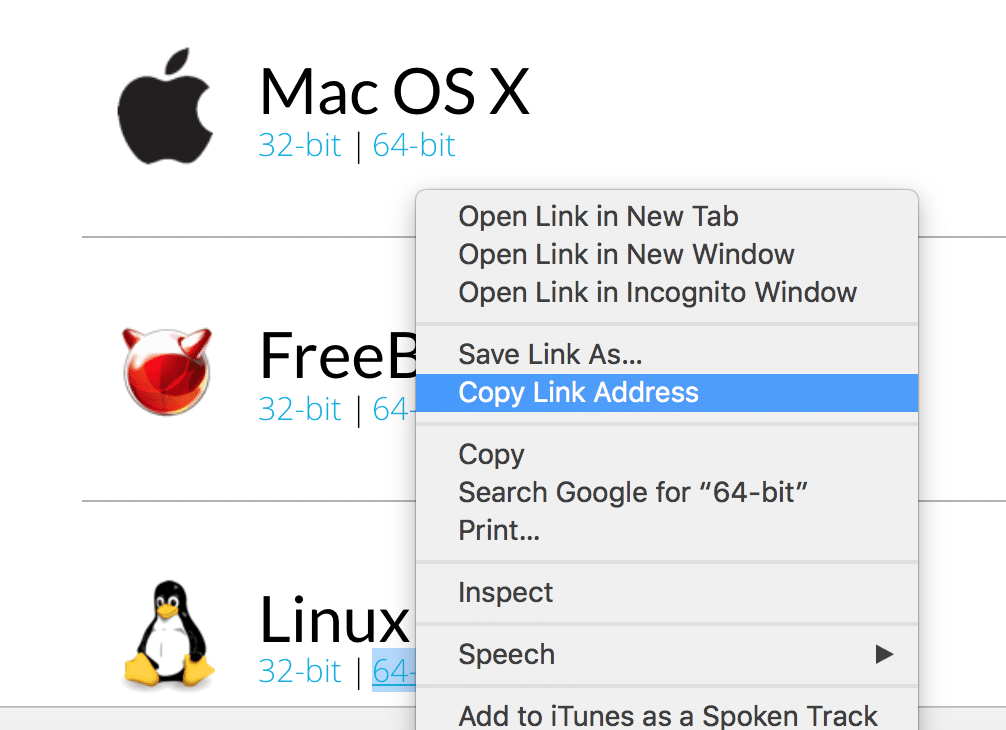
We want the Linux 64-bit binary. Just right-click the link to get the source URL which we will download right into the Linux box using cURL:
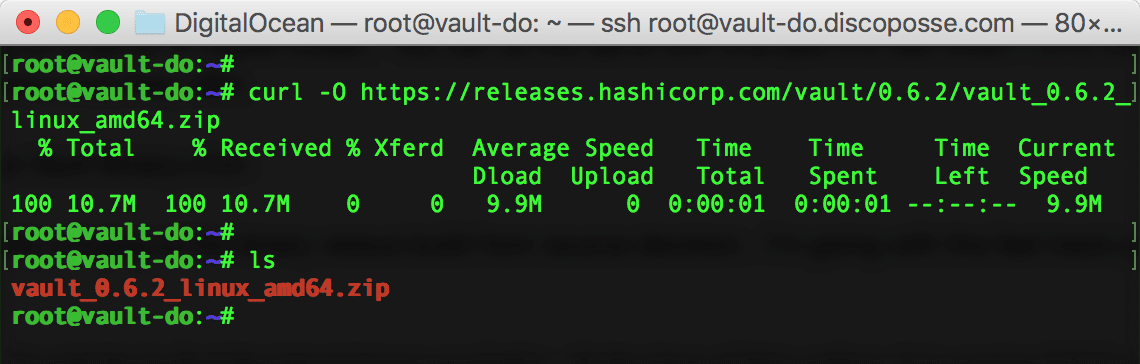
Log into your Ubuntu system and download the zip file using the following command (replace the URL to match the latest build):
curl -O https://releases.hashicorp.com/vault/0.6.2/vault_0.6.2_linux_amd64.zip
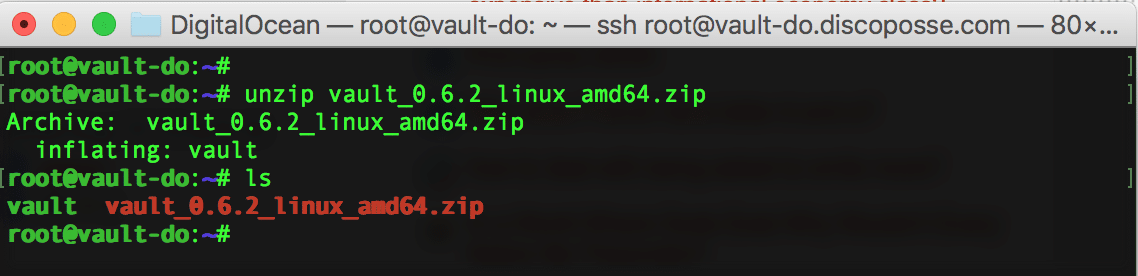
We need to unzip the file. If you don’t have unzip already on the system, you can install by using the sudo apt-get install unzip or just apt-get install unzip if you’re running as root.
Unzip the file using the unzip vault_0.6.2_linux_amd64.zip command:
Move the binary to a binary folder in the path by using the mv vault /usr/local/bin command and we will run the vault command to see that it’s working ok:

In order to use the same terminal session for running the server and also running the client, we are using Screen. If you aren’t already familiar with this nifty utility, I have a quick blog on it here.
Start up a Screen session named vault using the screen -S vault command. This launches a separate terminal session within the terminal window:

Launch the vault server using the vault server -dev:

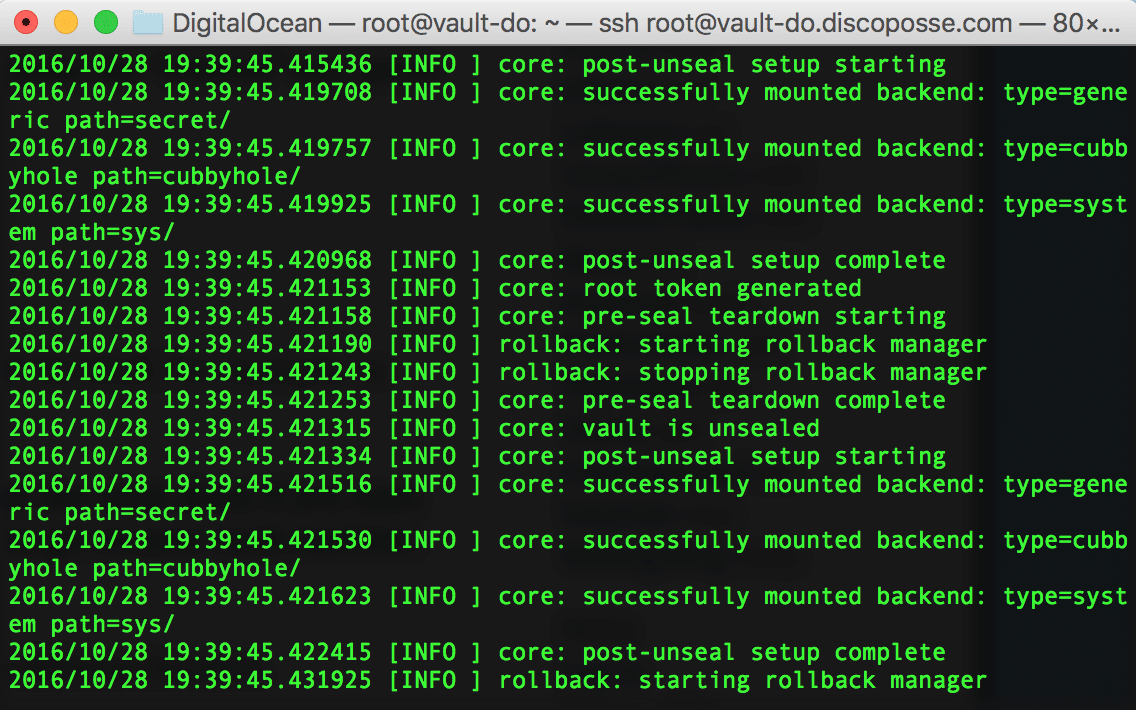
You will see the console log as it launches:
Use the Ctrl-A C sequence to open up a new interactive shell. That’s the Control key with A simultaneously, then the C key. That brings you to a regular shell. You can use the Ctrl-A key to switch back and forth as needed from now on.
Vault runs on an HTTP port instead of HTTPS when in dev mode. You’ll have to set up the vault URL using an environment variable on the localhost address: export VAULT_ADDR='http://127.0.0.1:8200’

Run the vault status command to make sure things are working as expected:
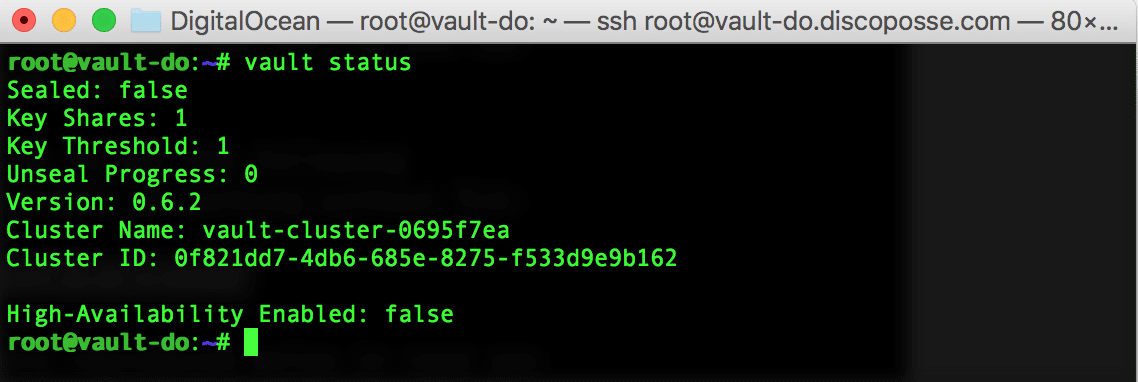
We can see the cluster ID, cluster name, seal status and other details in the results. We will create our test secret to the vault using the vault write secret/disco value=posse as a quick sample. You can change the value after the secret/ but you have to make sure to prepend it with secret/ like this:

Writing the secret is one thing. Let’s test the reverse process and read the secret. It is as easy as you imagine. Just use the vault read secret/disco command to see what value comes back:

Boom! We have our secret stored in the vault and were able to pull it back out. This is the most basic sort of test, but will set us up to do more experimentation in future posts and to set up a proper production implementation.
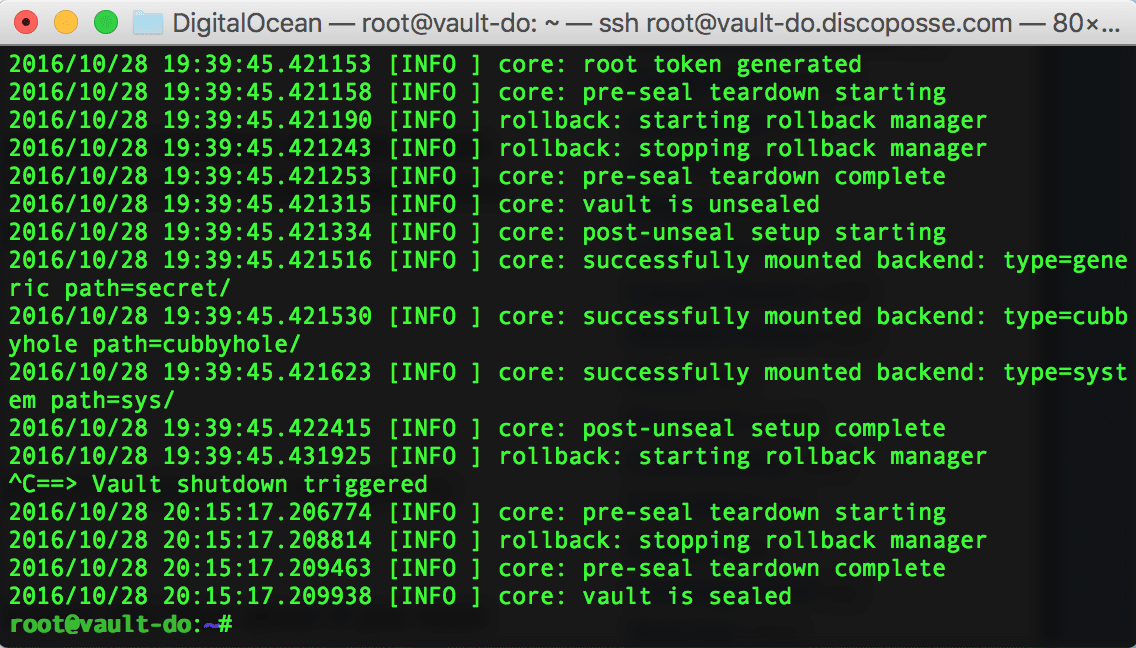
Use the Ctrl-A to get back to the console of your vault server. Once there, you can Ctrl-C to halt the server. You’ll see the Vault shutdown triggered in the console and then the sealing of the vault occurs. Even when it is shut down suddenly, the vault is safely sealed so that it can’t be compromised.
Try the same command of vault read secret/disco and you will see the expected result:

As expected, the vault does not reply because it’s been shut down and is sealed. Like I mentioned, this was just a quick test and was not meant to do anything big. We just wanted to show how easy it is to get a basic implementation up.
This is just the start.